


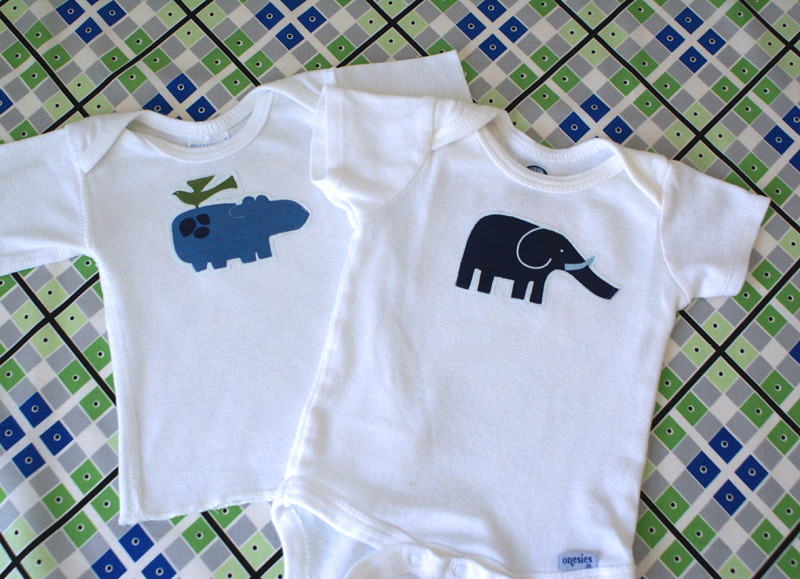
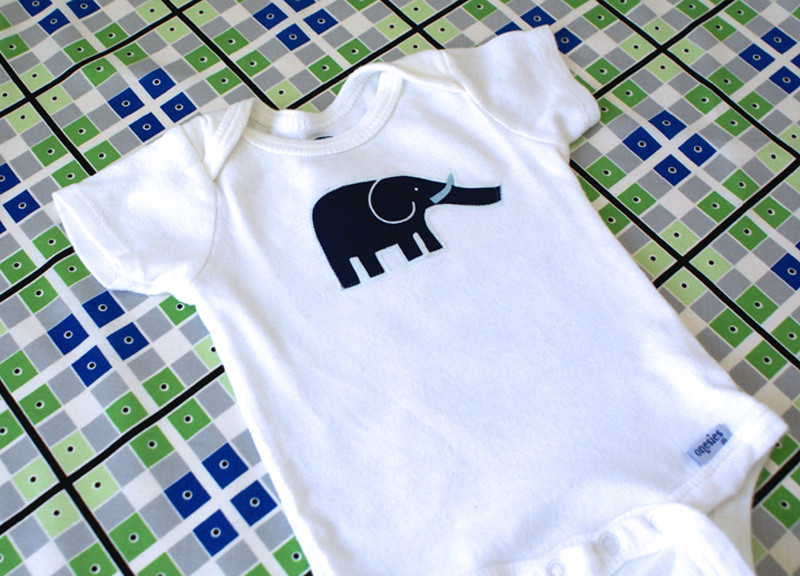
I've got soo many white onesies from when my first son was a baby and have decided to spiff them up a bit for baby #2. Appliqued onesies are so easy and cute. Here's a little tutorial for you on how I make them. (Im sure that there are about a thousand other ways to do it though.)
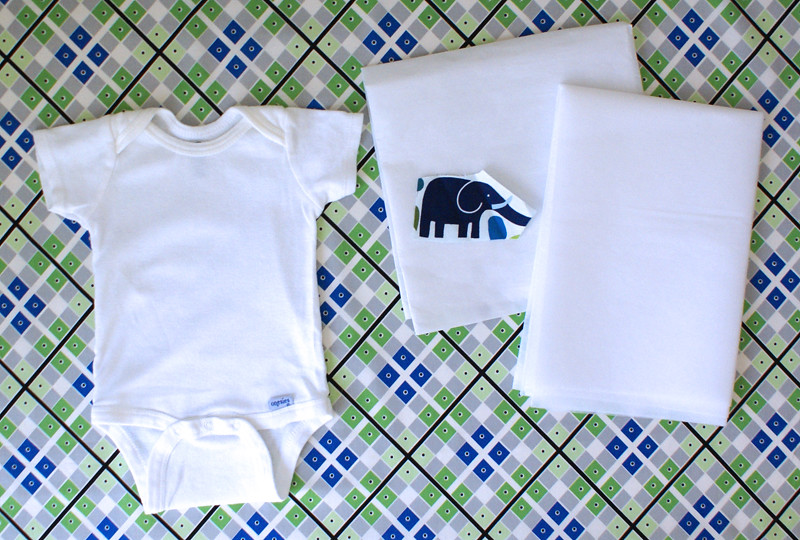
To start out, you'll need:
a onesie (dont be afraid to use a colored one)
a fabric cut-out to use for the applique (just a rough cut for now)
Wonder Under
light-weight iron-on interfacing
Take your rough cut applique piece and place it face down on the paper side of your Wonder Under. Trace around your shape. I like to use a sharpie, but pretty much any marking device would work. (Dont worry about getting ink along the edge of your applique since the edges will be getting trimmed.)
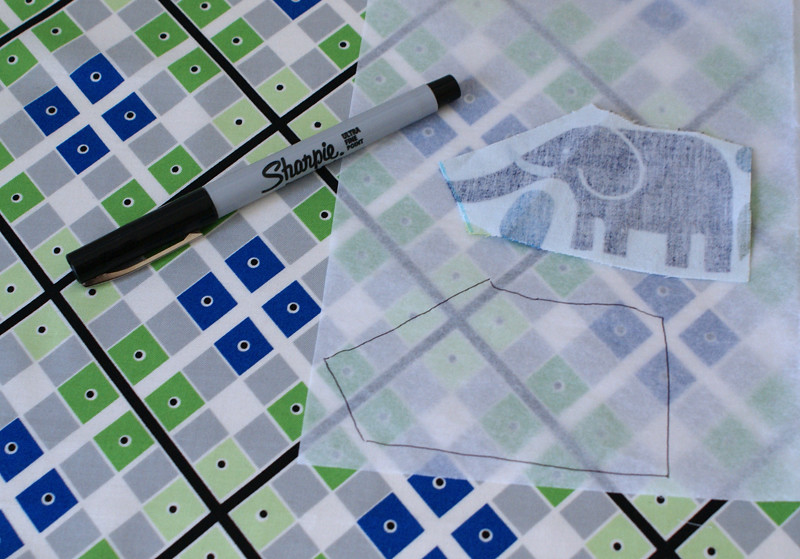
Cut out the shape you just drew on the Wonder Under, being sure to cut just inside of the lines (so there isnt any extra hanging over when we apply it to the fabric.)
Iron the rough side of the Wonder Under to the wrong side of the fabric applique piece using the directions listed on the Wonder Under. I usually just simplify it and hold the iron on the piece for about 10 seconds.
While the fabric is still a little warm, peel off the paper backing. (Sometimes the paper can be a bit tricky to get off. Try another quick iron to warm it up if you're having trouble.) Now you can trim down the edges of the fabric to exactly how you'd like your final applique to look.
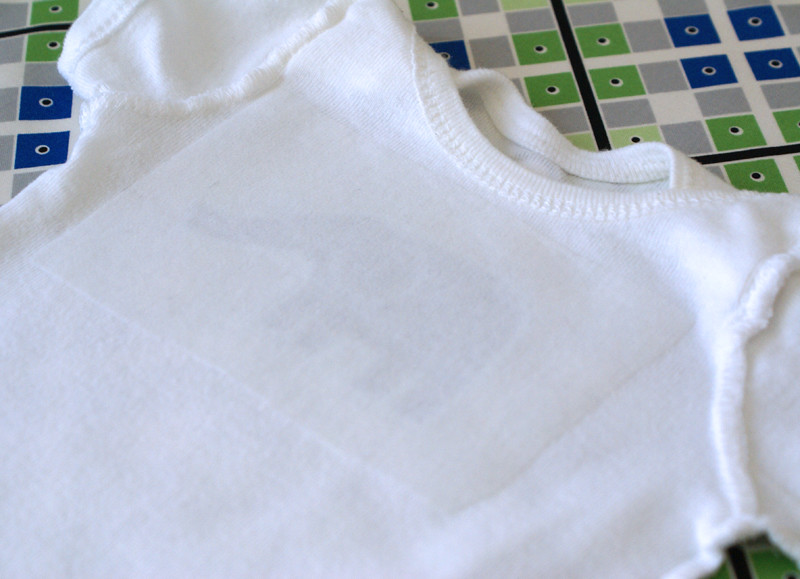
Iron the applique piece to the front of the onesie. (A lot of people make the mistake of placing it too low and it ends up on the belly of the baby. I'd recommend putting it pretty close up to the neck line.) Technically you could be done at this point if you are in a super hurry. Wonder Under claims that you do not need to sew around the edge to anchor it down. I've never tested out that claim though.
Turn the onesie inside out. Cut a piece of interfacing that will cover the back side of the applique and reach 1/2" past all edges of the piece. This will stabilize the knit fabric when you sew it, so it wont pucker or pull.
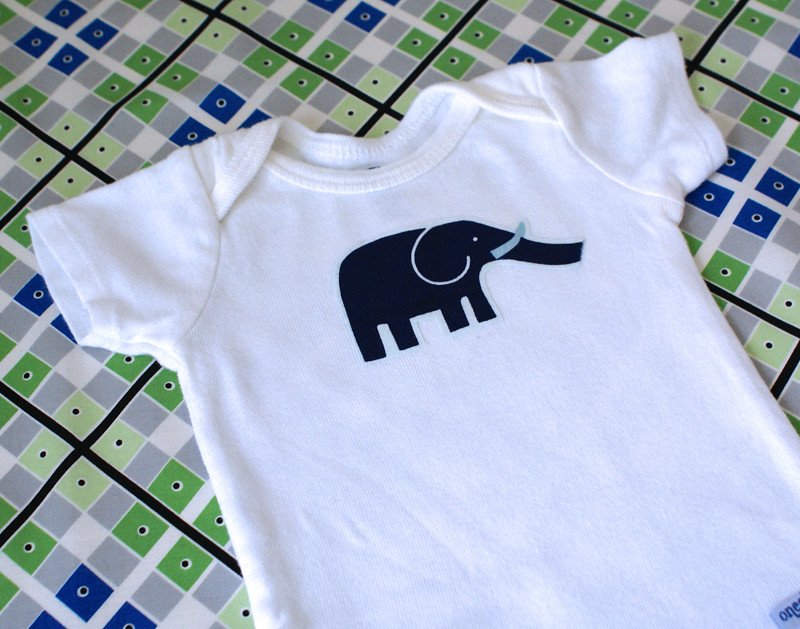
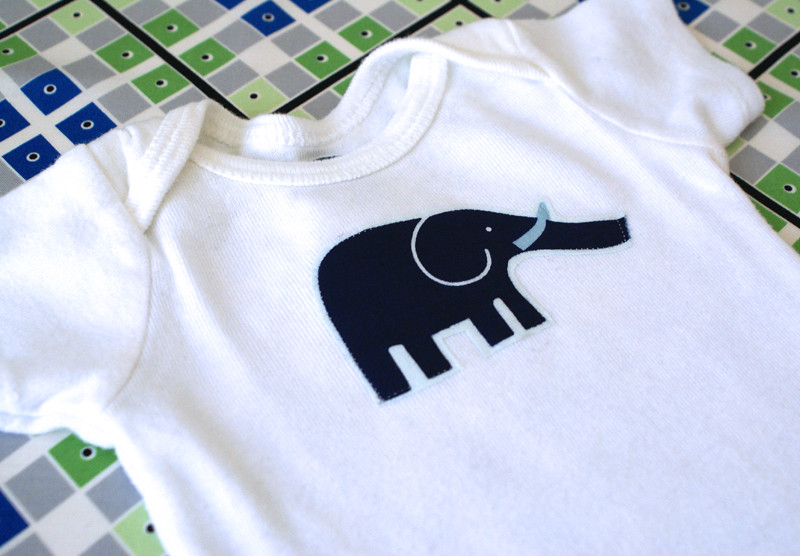
Now just flip the onesie back to right side out and stitch around the applique, approximately 1/8" from the edge, using matching thread or even clear thread (that's what I used on this one.)
A friend of mine had a baby shower recently, and they actually made appliqued onesies at the shower! I thought that was such a genius idea. The hostess had some fabrics ready for the guests to choose from to use as their applique and they each just ironed their creation on to a onesie. Super quick and easy, and so cute! If the hostess is as neurotic as I am, she could go back later and stitch each one to make sure it's nice and anchored down.


My sister did sew around the appliques for me so they've all stayed put in the wash. My cousin did this at a shower too and didn't do that and all the appliques came off! Your onesies turned out so cute. Love the elephant.
ReplyDeleteOkay I want to do this at my niece's shower in October (that I'm throwing). I thought about having people paint onesies, but this seems WAY easier and less messy!! Awesome!
ReplyDeleteI'm also checking out the sites you buy fabric from, already found tons of stuff I love at Fabric Worm!
I wish I had seen this last month!!! I put a "1" on a onesie for Madeleine's first birthday and after a few cycles in the wash it's starting to look a little ragged. Great tutorial!
ReplyDeleteVery nice instructions - and darling results. Thank you for posting!
ReplyDelete