


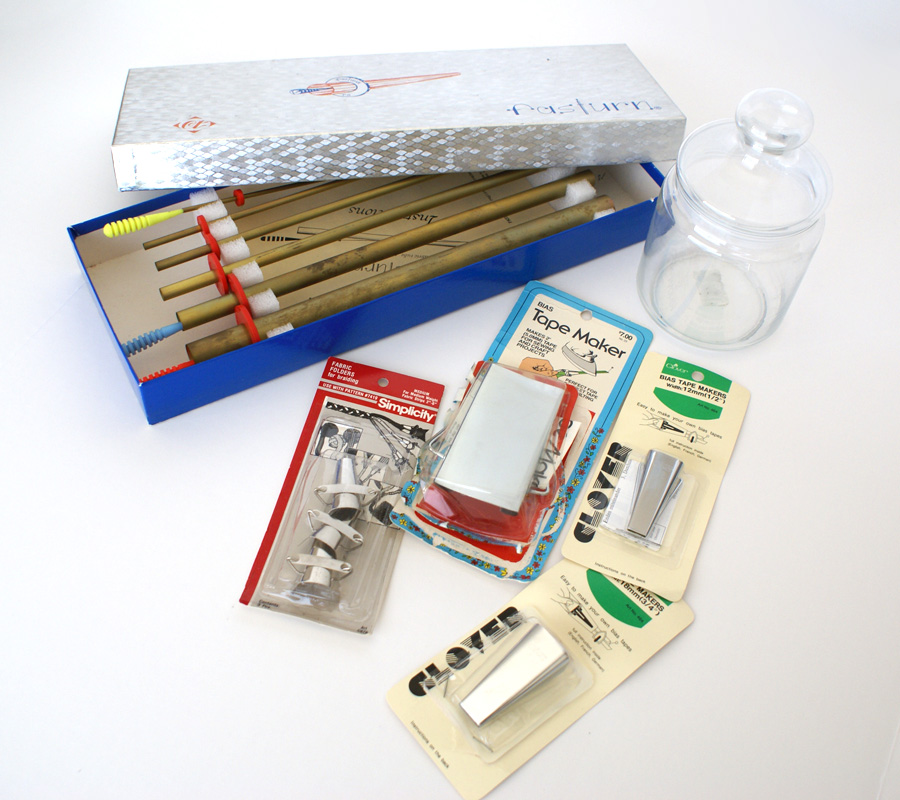
Turning tool, glass jar (with a really cute finial-like top), and a bundle of bias tape makers
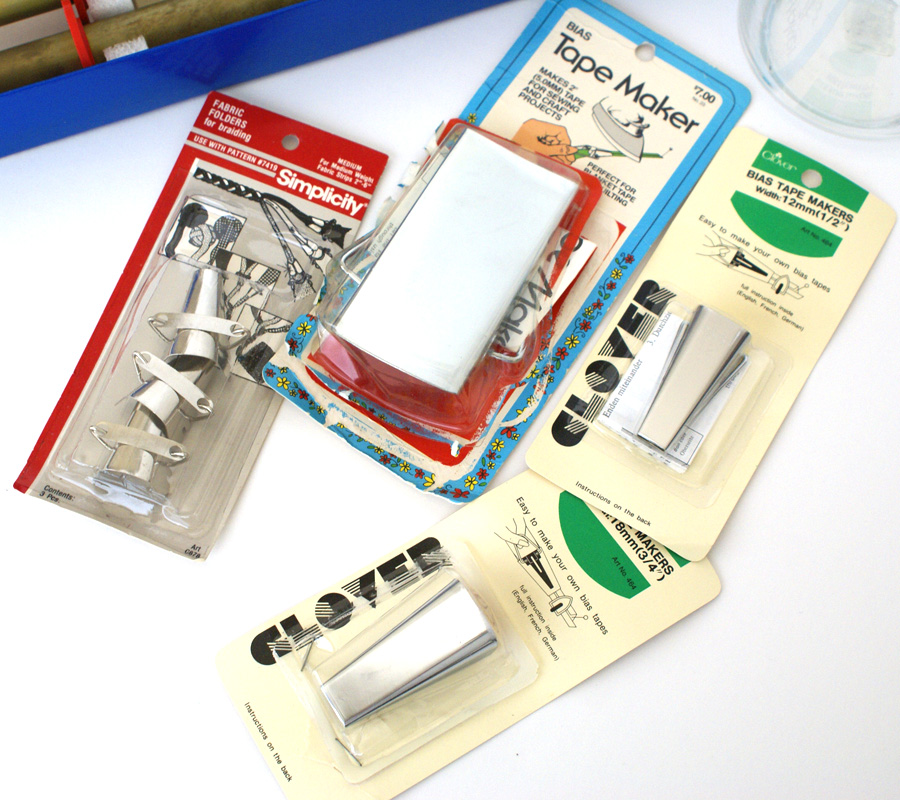
The tape makers run from $5-$10 each brand new, and these dont look like they've ever been touched!
Have you ever heard of a turning tool?
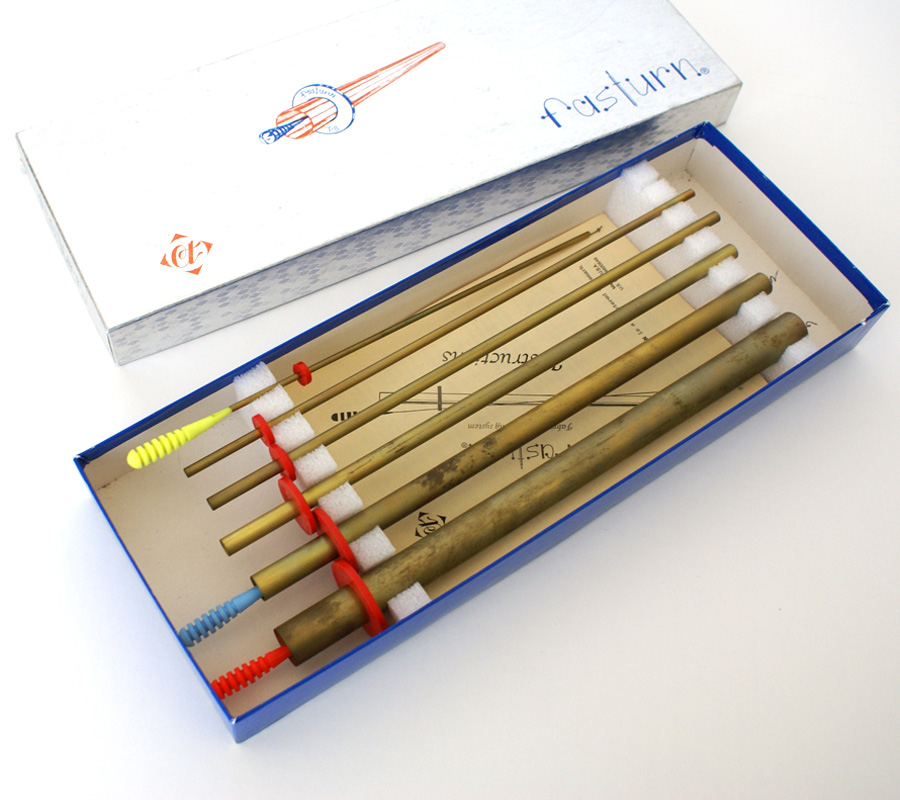
It's a tool that helps you turn fabric tubes right side out (like ties for an apron, etc.)
This tool isn't a necessity, especially at its hefty price of anywhere from $30 to upwards of $60! But it sure is great to have if you can find one on the cheap. In another post I'll show you how to make your own version of a turning tool that has worked wonders for me previously to getting my hands on this great little tool set.
If you've never heard of a turning tool before and wonder how this contraption works, here's a little tutorial for you:
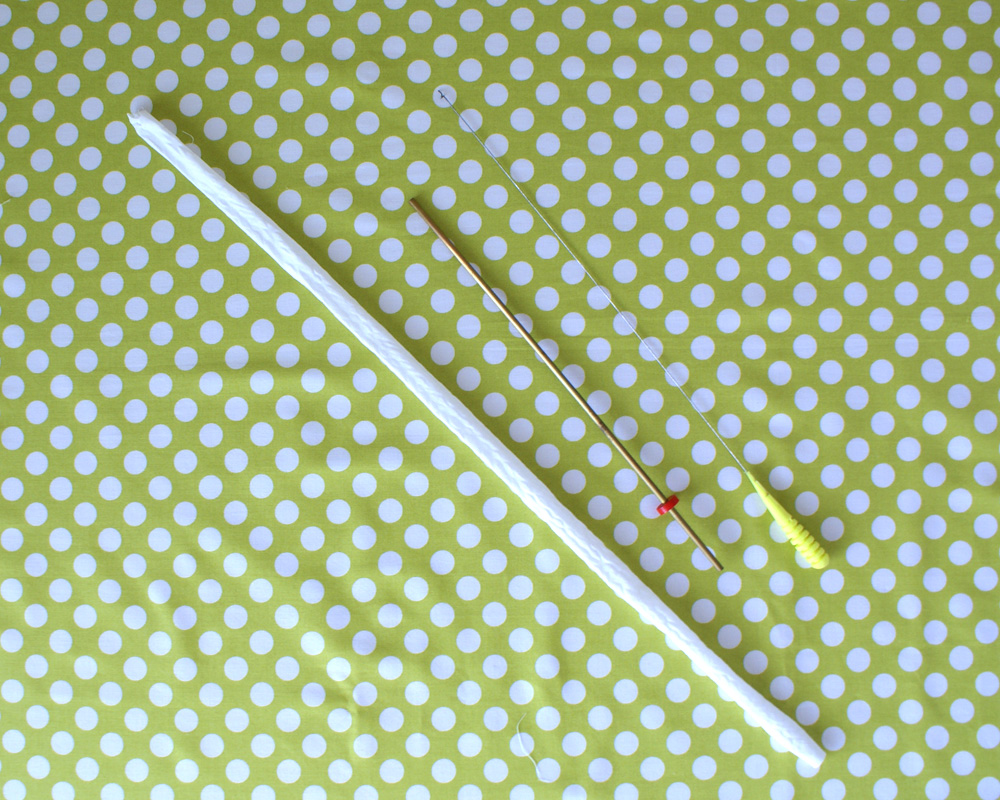
Start out with your tube of fabric, sewn right sides together, a metal tube from the set that fits in your fabric tube and a wire hook.
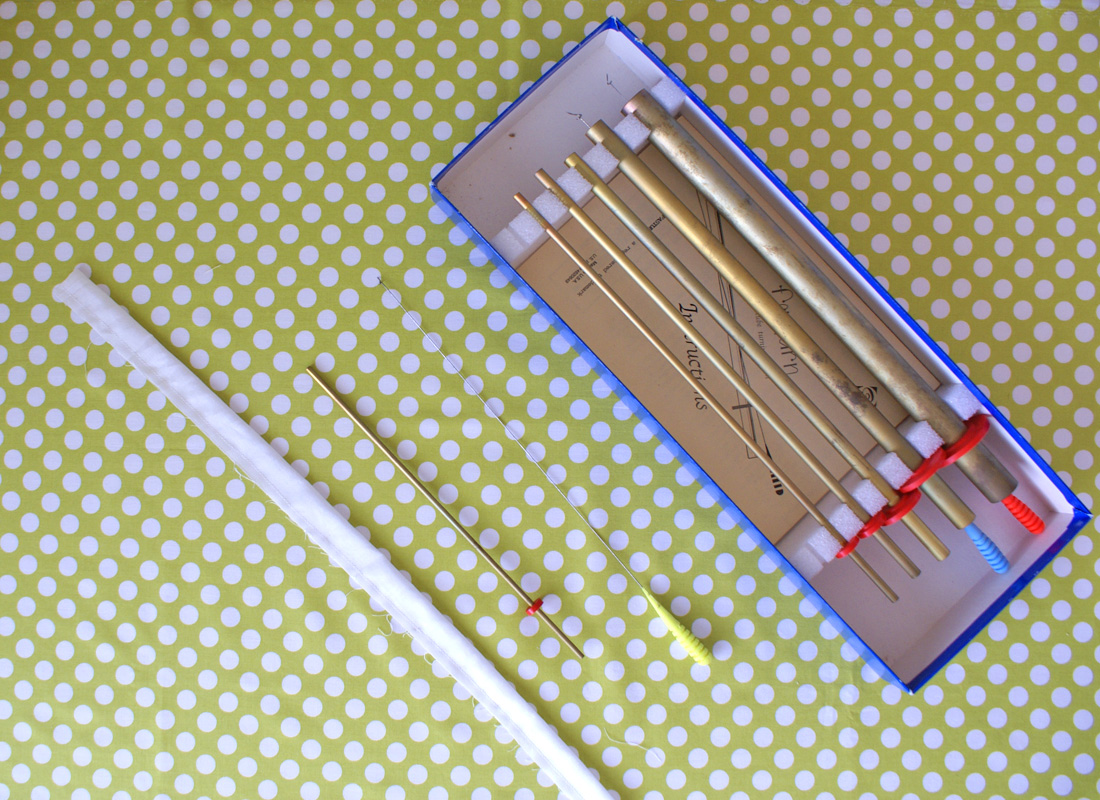
notice the little spiral on the end of the wire?
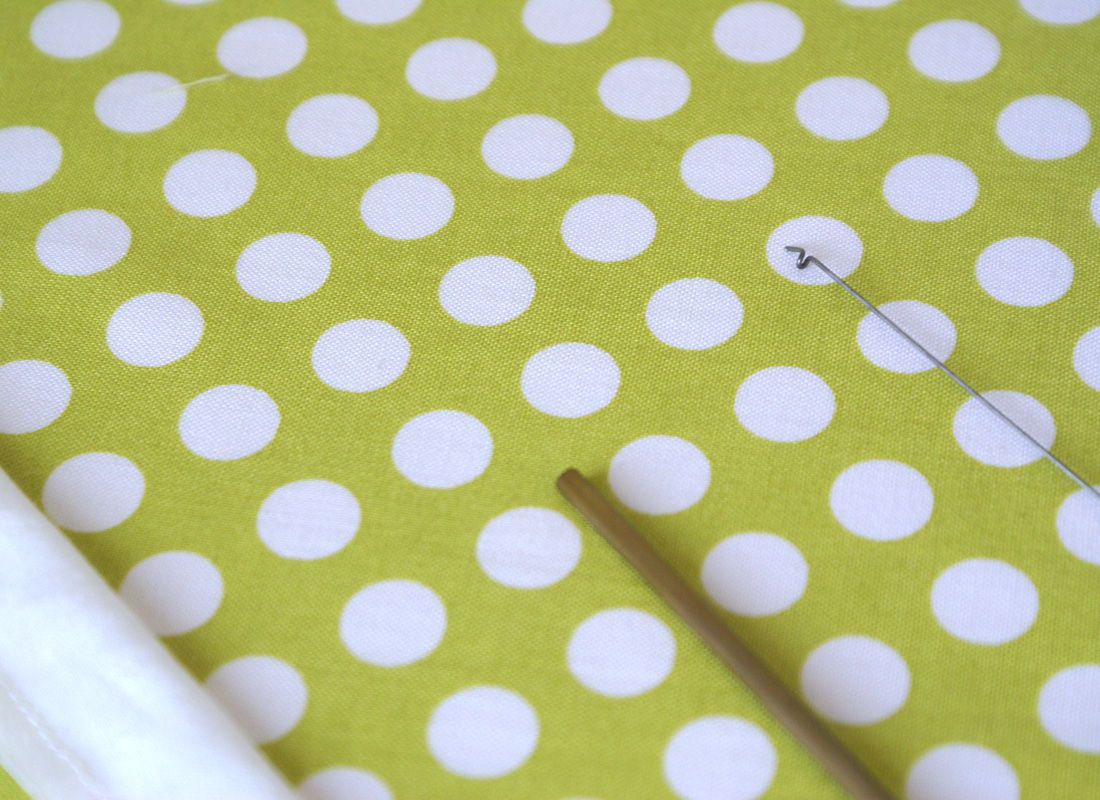
Stuff your fabric over the metal tube.
Insert the wire in the metal tube.

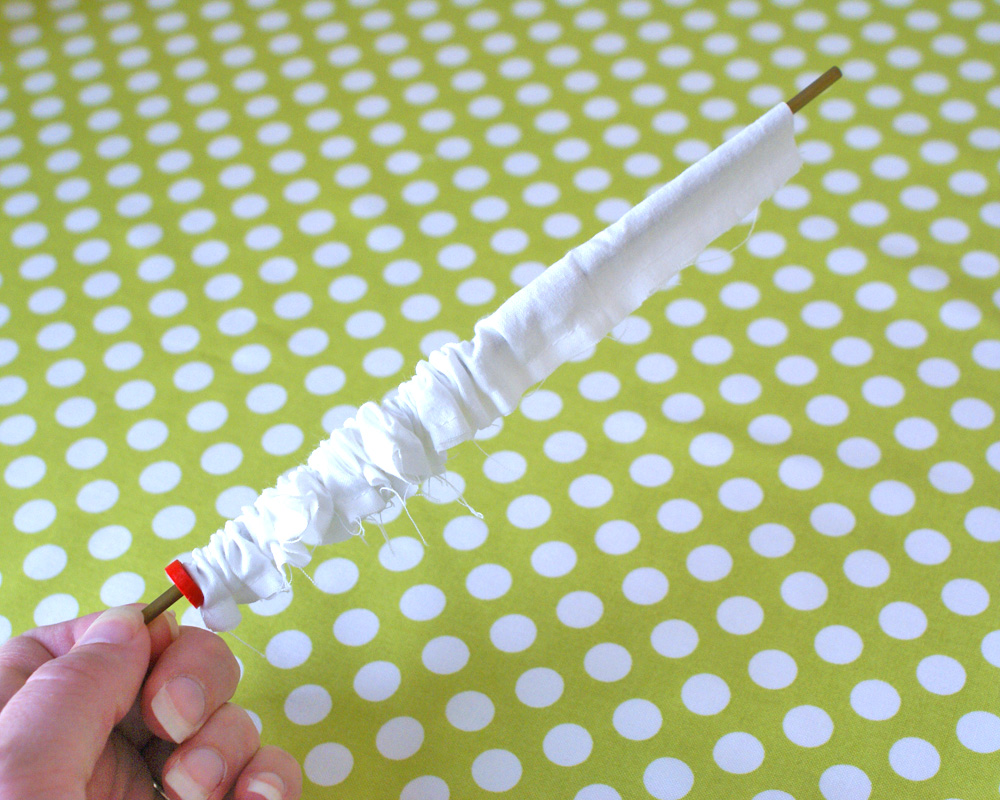
Pull your fabric just over the end of the metal tube and push the wire spiral through the fabric.

Gently start to pull the wire back through the metal tube and the fabric will start to pull through, turning itself right side out.
As you pull the fabric, it will come out the other end of the metal tube.
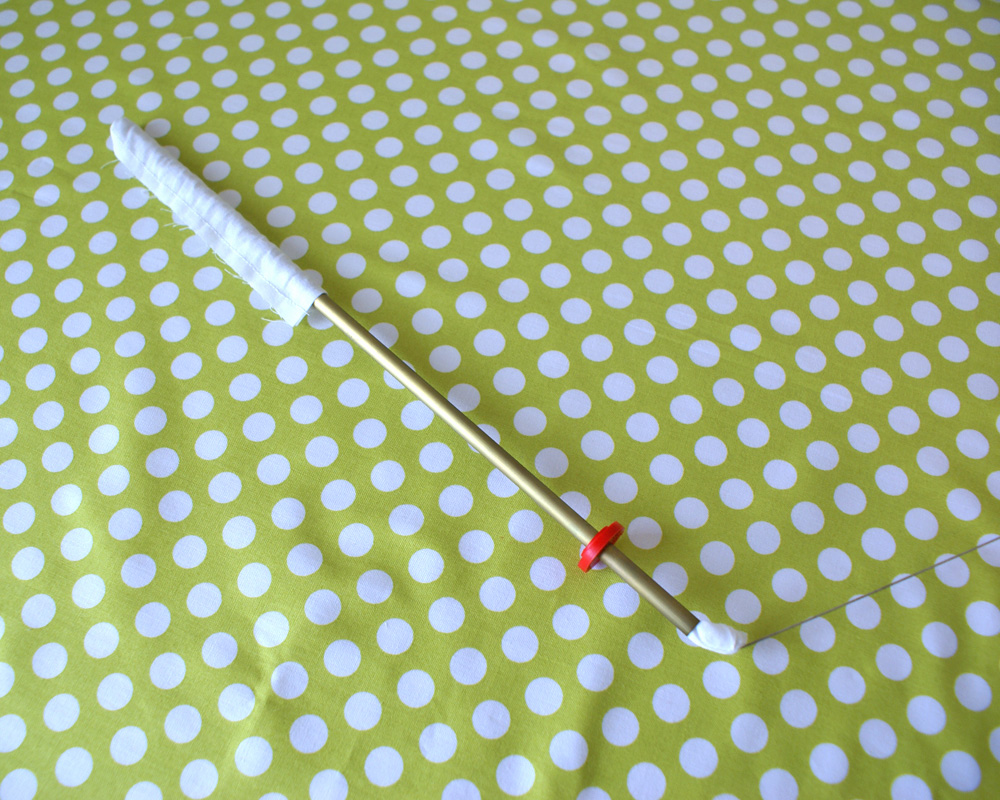
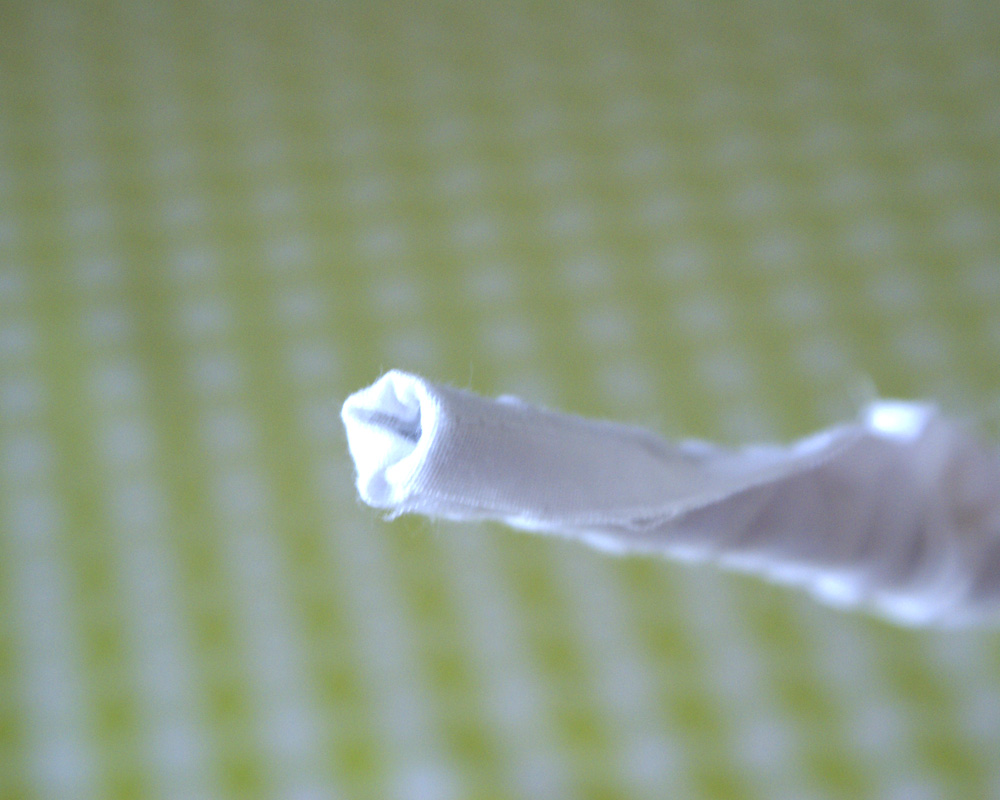
Keep pulling until the fabric is all the way through and Voila! Your fabric tube is now right side out! Just iron your fabric tube and you're done!
Super fast and simple. So much better than spending hours trying to push a safety pin through all that bulky fabric!


Oo, I'm jealous of those finds! ;-)
ReplyDelete