The winner of the Sew, Mama Sew May day Giveaway is...
Congrats Sarah! You should be receiving an email from me shortly.
Saturday, May 22, 2010
Monday, May 17, 2010
SMS Giveaway Day
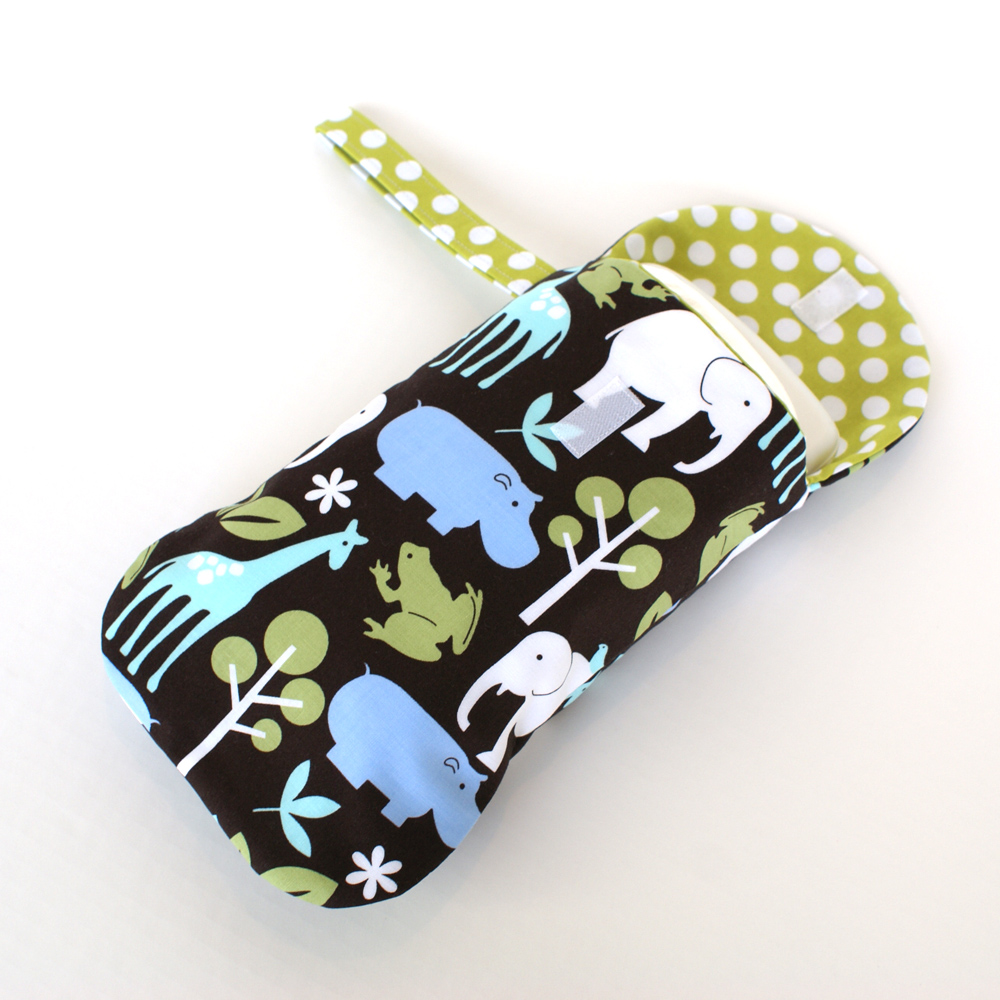
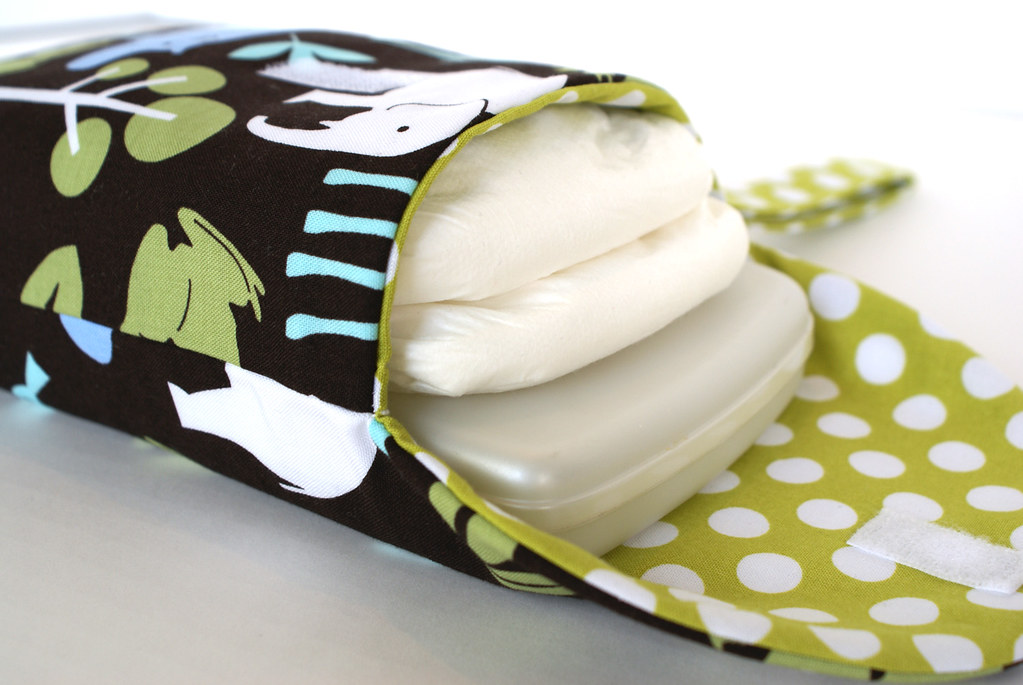
For those times when you don't need the entire diaper bag. Just grab the case and go. Or use it to keep your bag organized. Comfortably fits a wipes container and 2 large diapers. This case is thicker and more durable than most, because of its inner lining, and keeps its shape even when it’s not filled. It wont get all slouchy and crumpled like others do.
See more photos and item description here.
For your chance to win, leave a comment telling me what your favorite item is from my shop. You also MUST leave an email address to contact you. Follow/Subscribe for an extra entry...be sure to leave an additional comment. Giveaway will be open until May 20th and item will be shipped by May 24th. I will ship internationally.
Sunday, May 16, 2010
Snippets Quilt
Remember this little preview? I actually managed to finish this quilt pretty quickly and it's even made it into the hands of it's new owner. I have been wanting to make this quilt for a very long time and am excited to finally have it completed because I knew just who it was intended for.
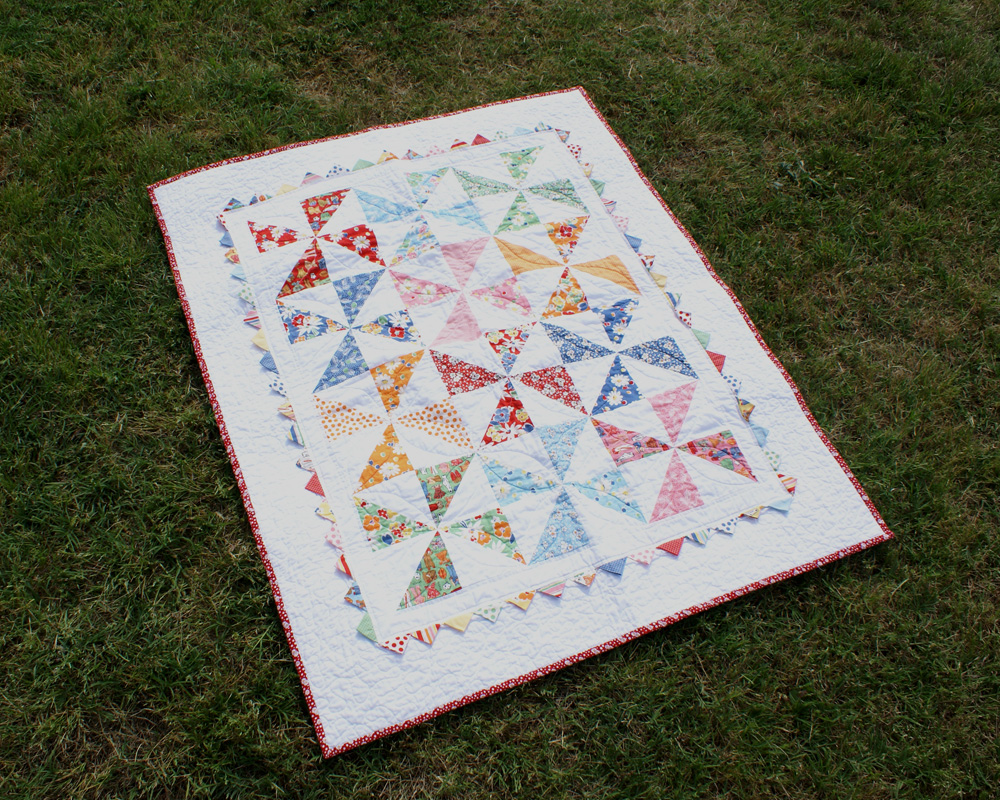
The pattern comes from a Moda Bakeshop Tutorial. It's a really simple quilt that uses only a charm pack and 1 yard of solid white (plus backing and binding.)
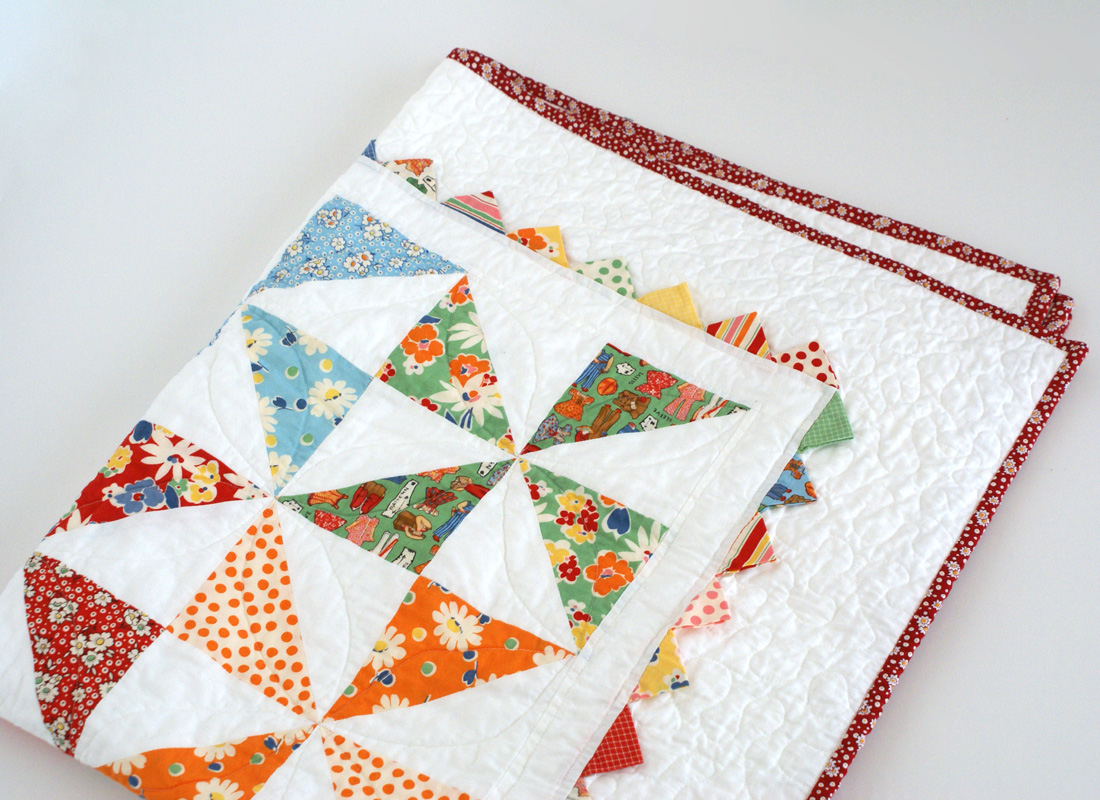
This quilt had a few "firsts" for me. It was my first time making prairie points. They were pretty time consuming. They also came out very wrinkled after washing. But I love the look they added to this quilt. Not sure if I'll do them again though.

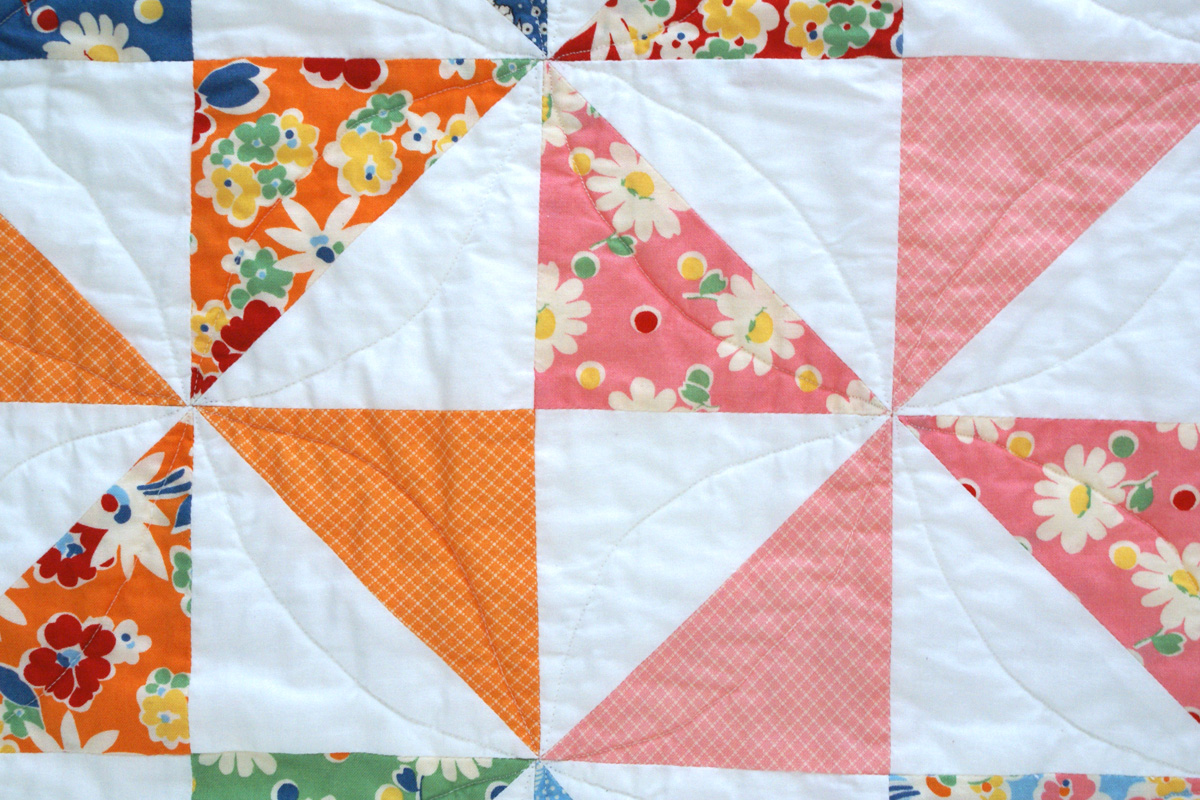
It was also my first time quilting the flower petal design (not sure if that's the official name for it.) It's definitely far from perfect, but I was fun to try something new. I really like this quilting design on top of the half square triangle blocks (which are in this case, making up pinwheels.) It gives them a subtle roundness and lots of movement.
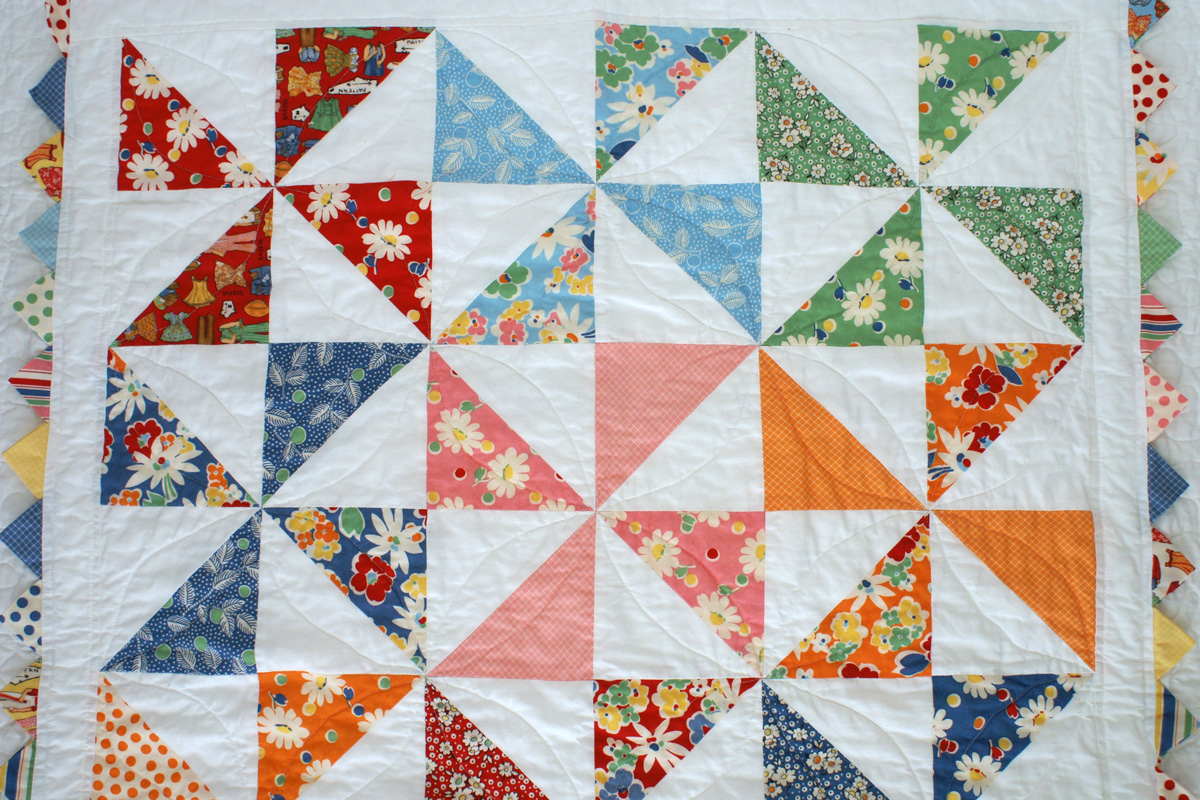

The pattern comes from a Moda Bakeshop Tutorial. It's a really simple quilt that uses only a charm pack and 1 yard of solid white (plus backing and binding.)

This quilt had a few "firsts" for me. It was my first time making prairie points. They were pretty time consuming. They also came out very wrinkled after washing. But I love the look they added to this quilt. Not sure if I'll do them again though.


It was also my first time quilting the flower petal design (not sure if that's the official name for it.) It's definitely far from perfect, but I was fun to try something new. I really like this quilting design on top of the half square triangle blocks (which are in this case, making up pinwheels.) It gives them a subtle roundness and lots of movement.

May's Bee Block
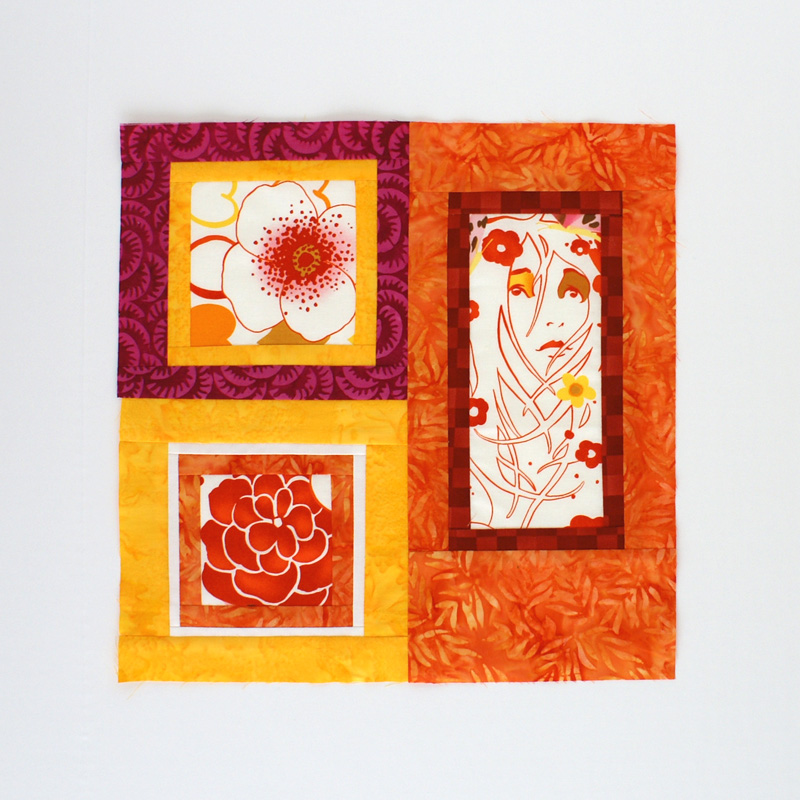
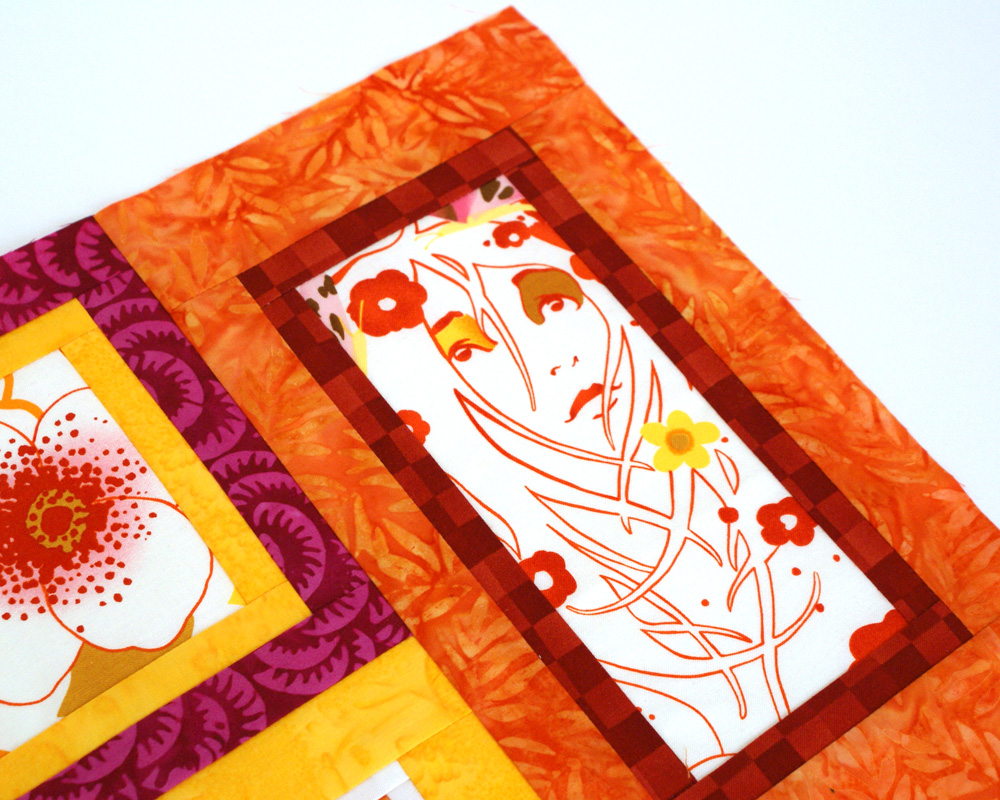
Chelsea's request for her fussy cut blocks was "framed" squares. I love her inspiration quilt and think the fabrics she chose will look great with this quilt. And the fabric she gave for the fussy cut centers had soo many options of what use.



Saturday, May 15, 2010
Garage Sale Finds & Tutorial
I found some really great items at a garage sale recently. All for $2!
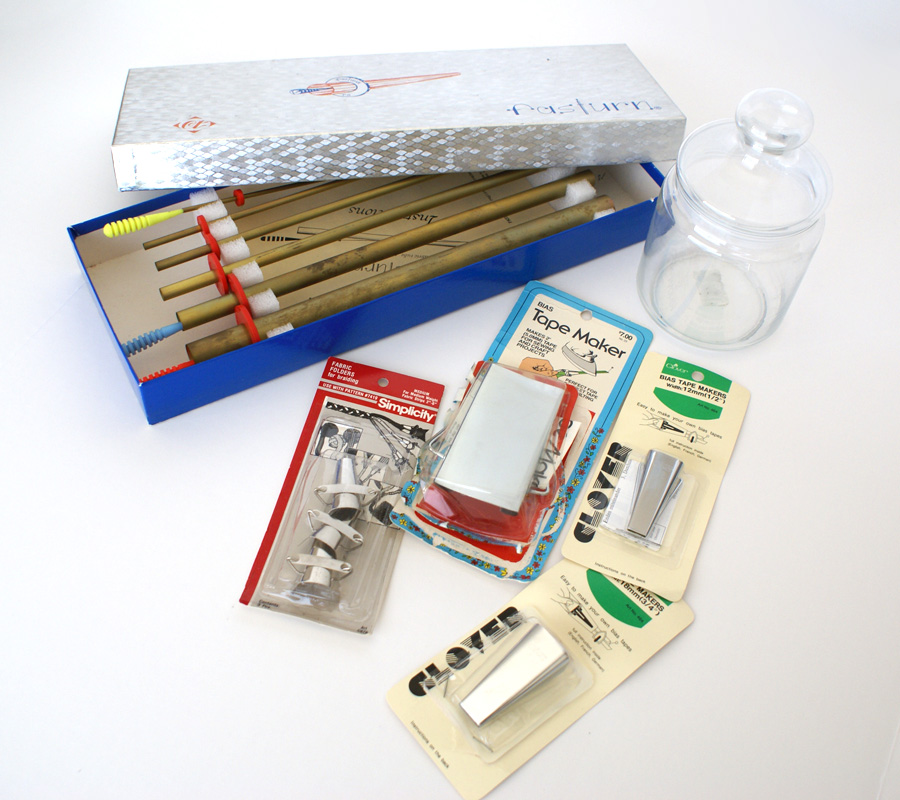
Turning tool, glass jar (with a really cute finial-like top), and a bundle of bias tape makers
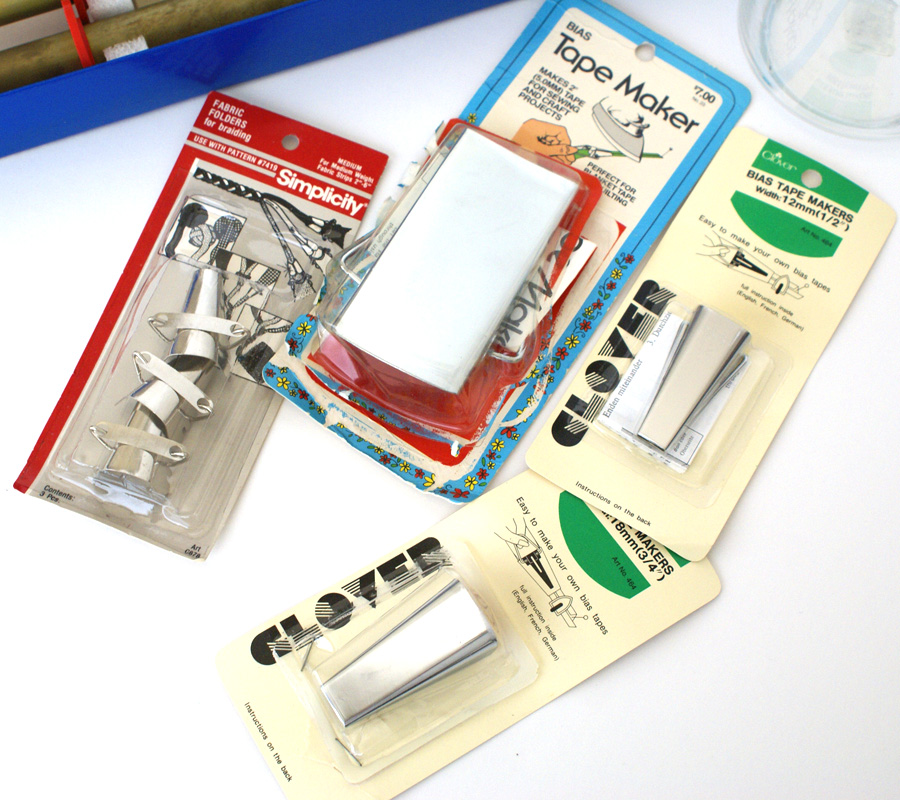
The tape makers run from $5-$10 each brand new, and these dont look like they've ever been touched!
Have you ever heard of a turning tool?
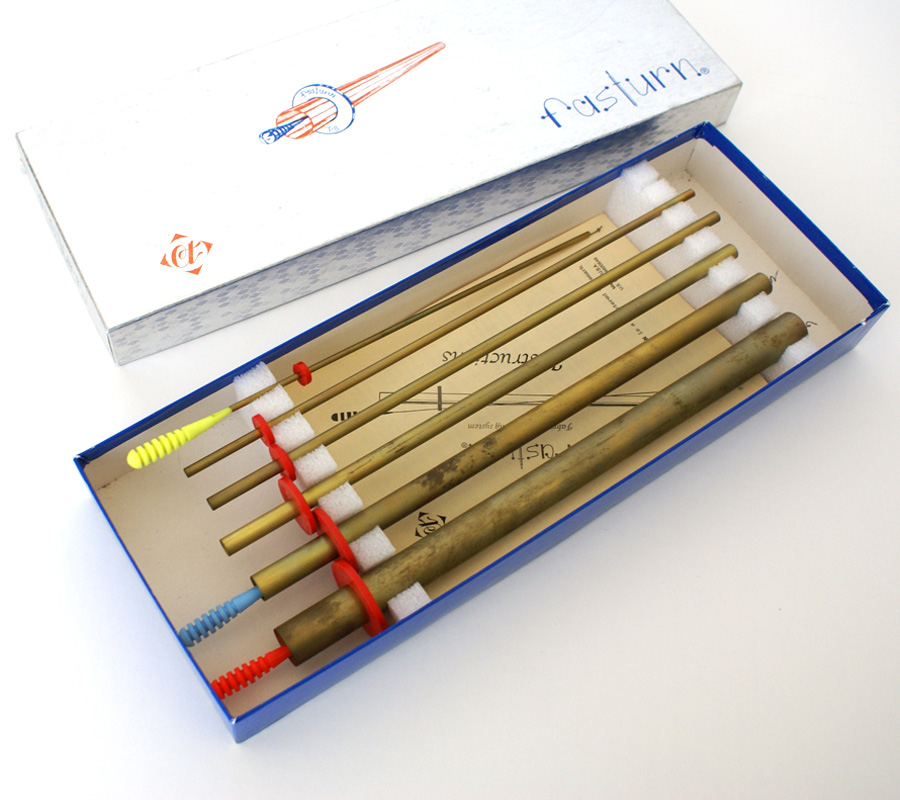
It's a tool that helps you turn fabric tubes right side out (like ties for an apron, etc.)
This tool isn't a necessity, especially at its hefty price of anywhere from $30 to upwards of $60! But it sure is great to have if you can find one on the cheap. In another post I'll show you how to make your own version of a turning tool that has worked wonders for me previously to getting my hands on this great little tool set.
If you've never heard of a turning tool before and wonder how this contraption works, here's a little tutorial for you:
Start out with your tube of fabric, sewn right sides together, a metal tube from the set that fits in your fabric tube and a wire hook.
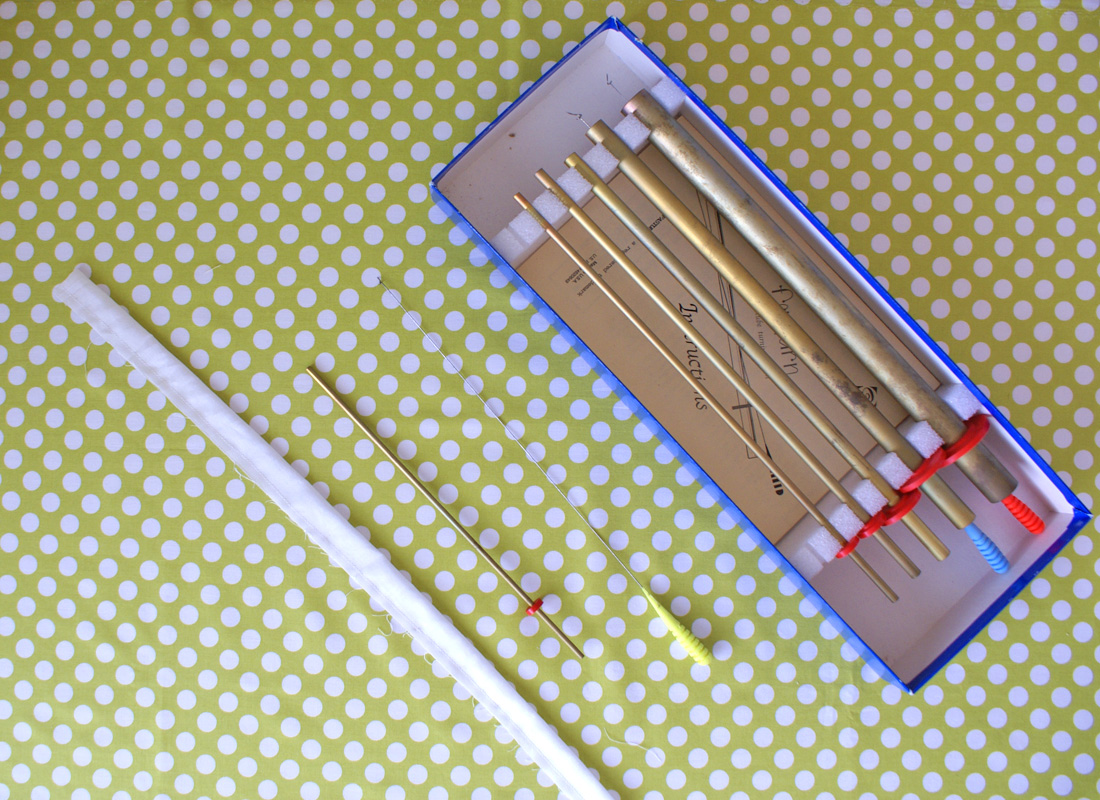
notice the little spiral on the end of the wire?
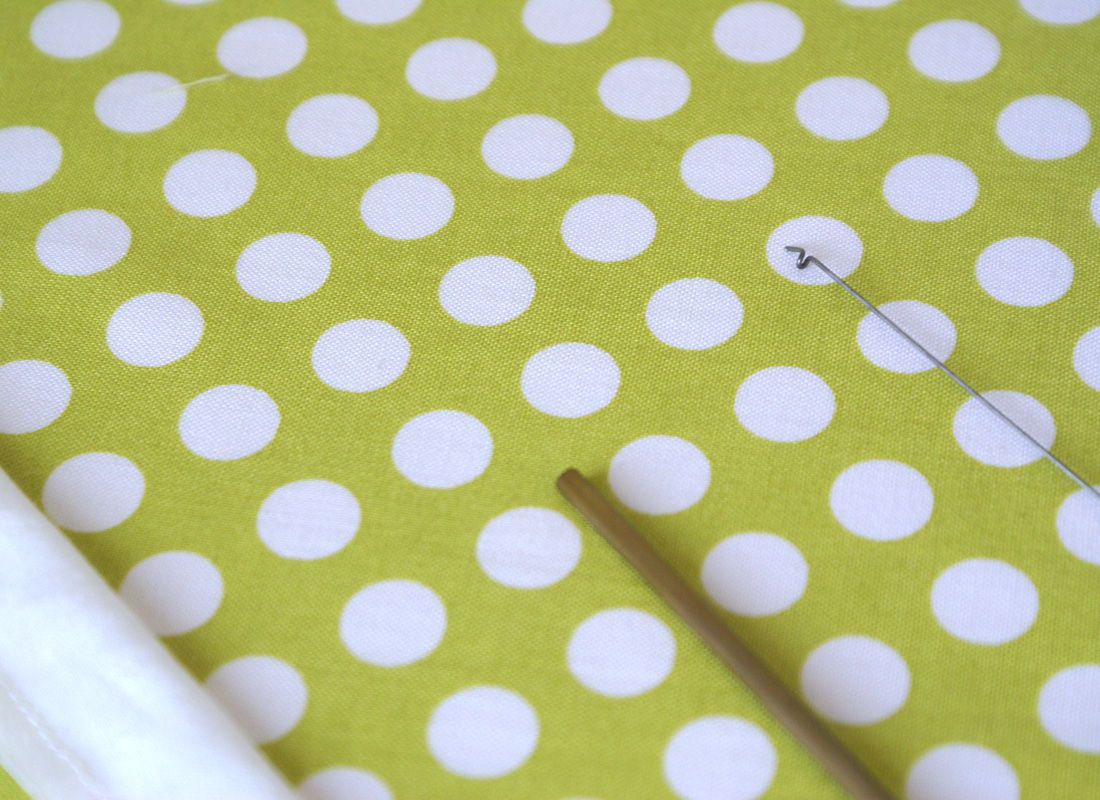
Stuff your fabric over the metal tube.
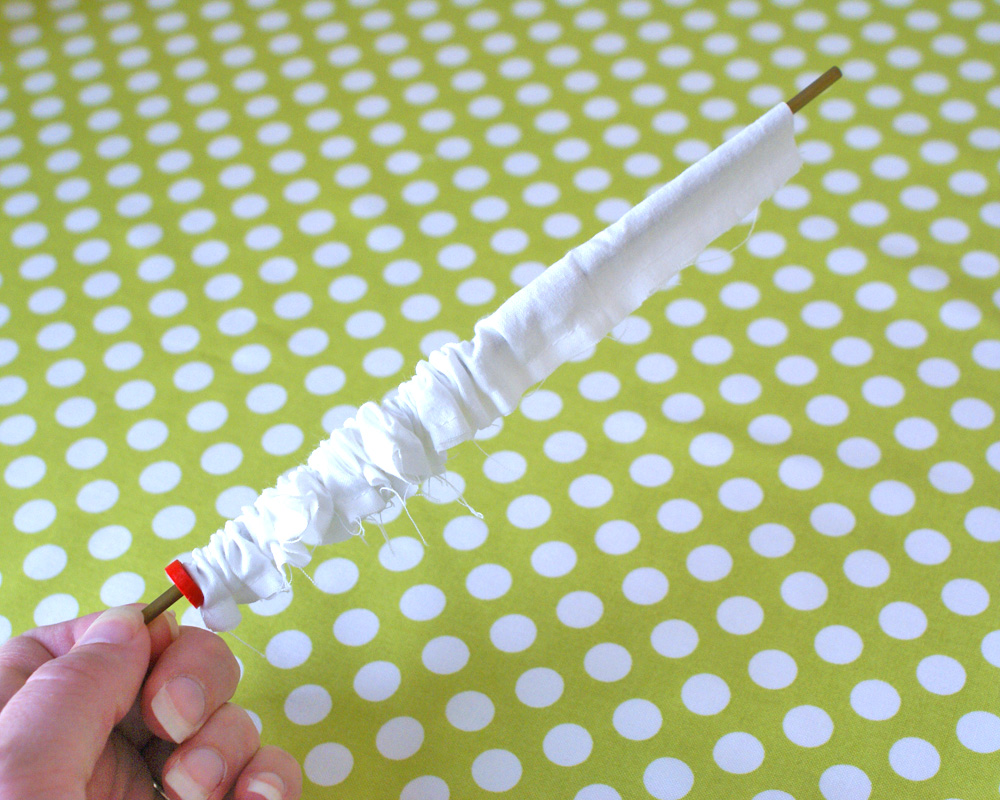
Insert the wire in the metal tube.
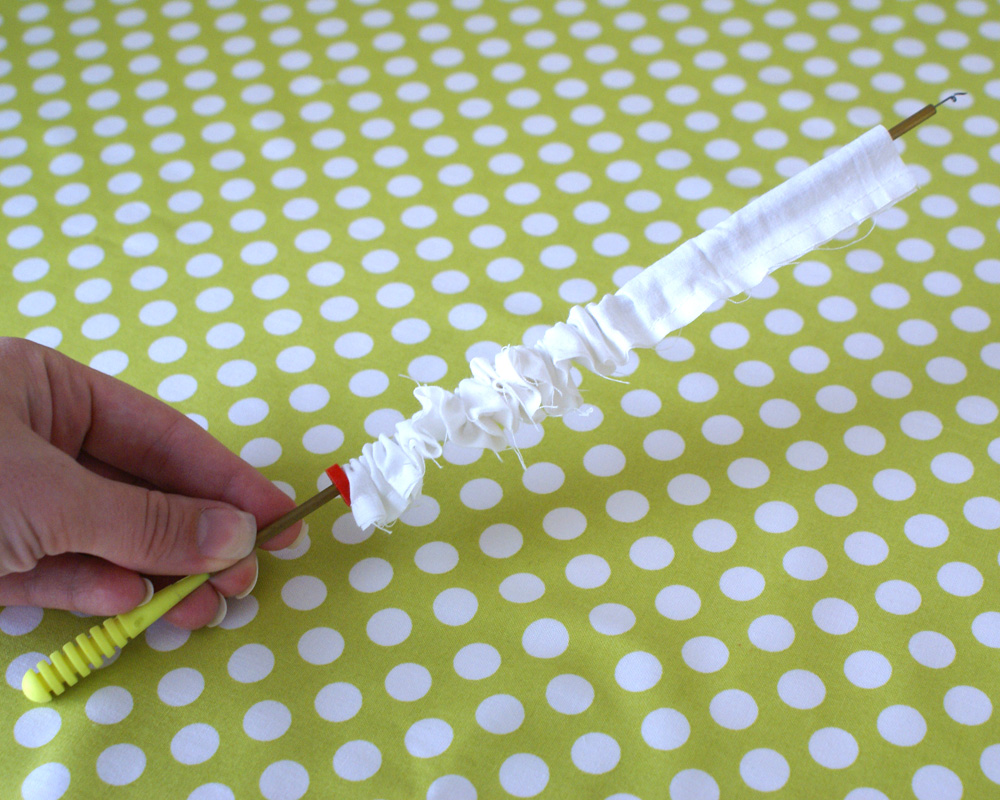
Pull your fabric just over the end of the metal tube and push the wire spiral through the fabric.
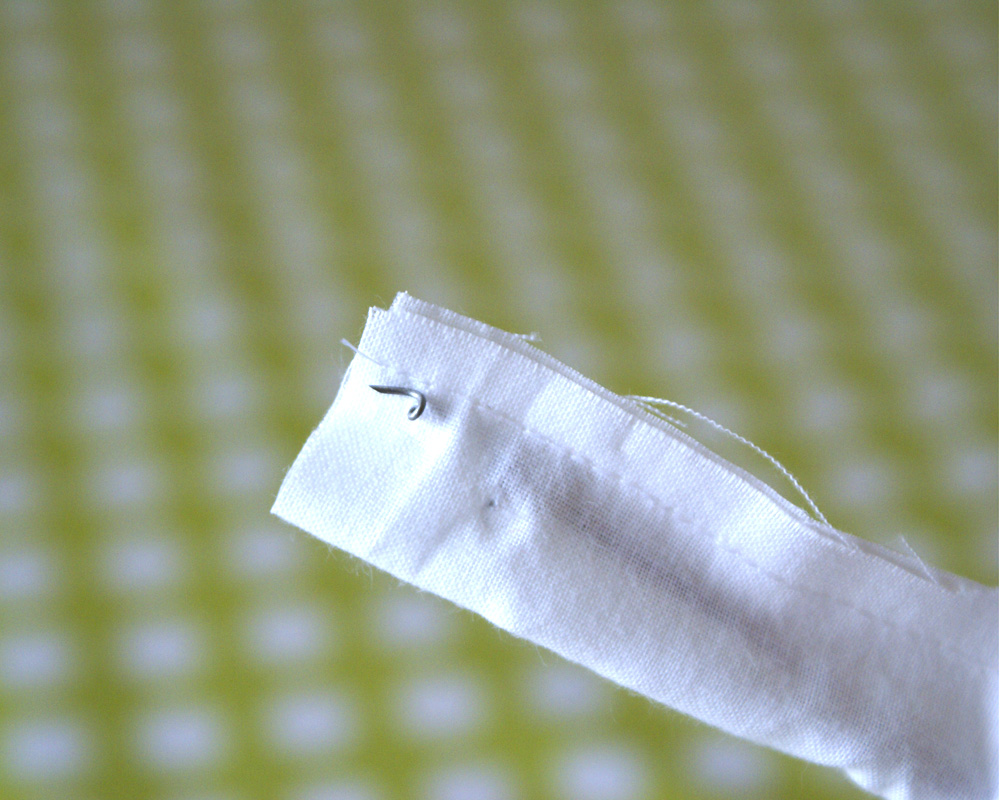
Gently start to pull the wire back through the metal tube and the fabric will start to pull through, turning itself right side out.
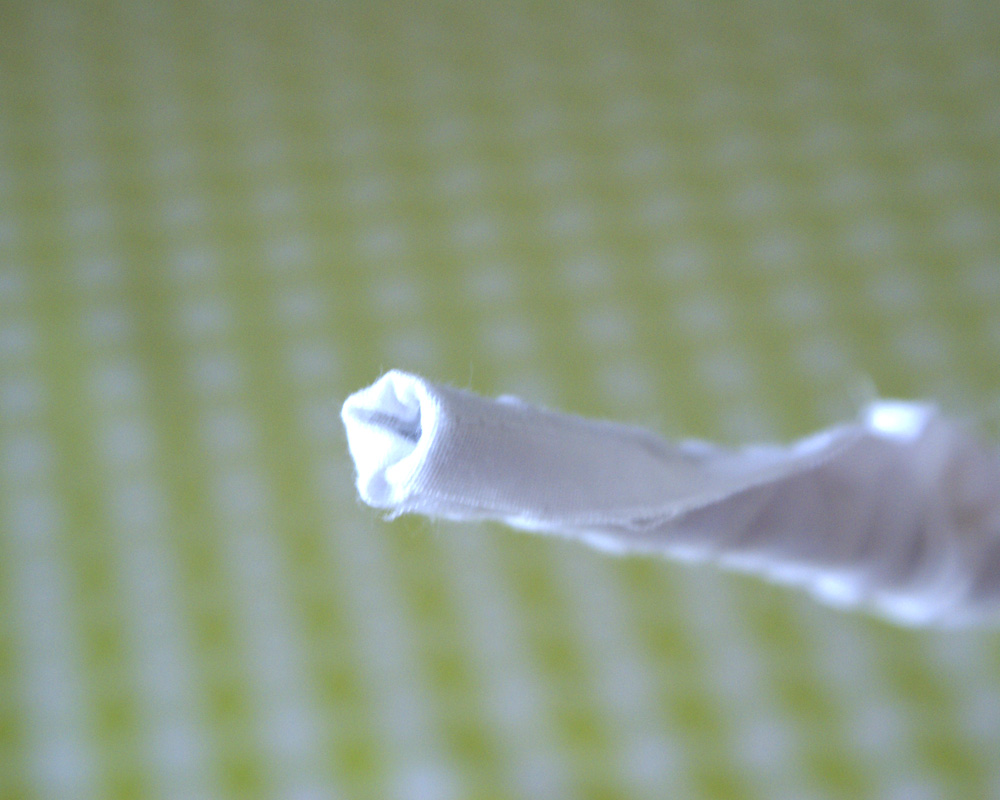
As you pull the fabric, it will come out the other end of the metal tube.
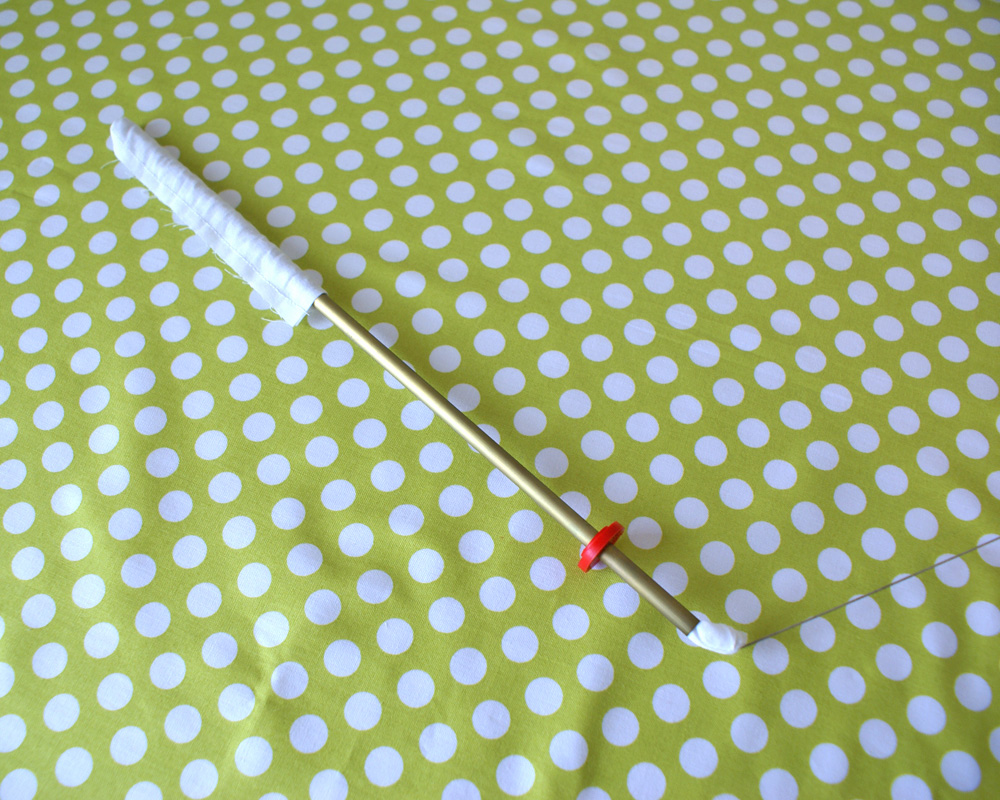
Keep pulling until the fabric is all the way through and Voila! Your fabric tube is now right side out! Just iron your fabric tube and you're done!
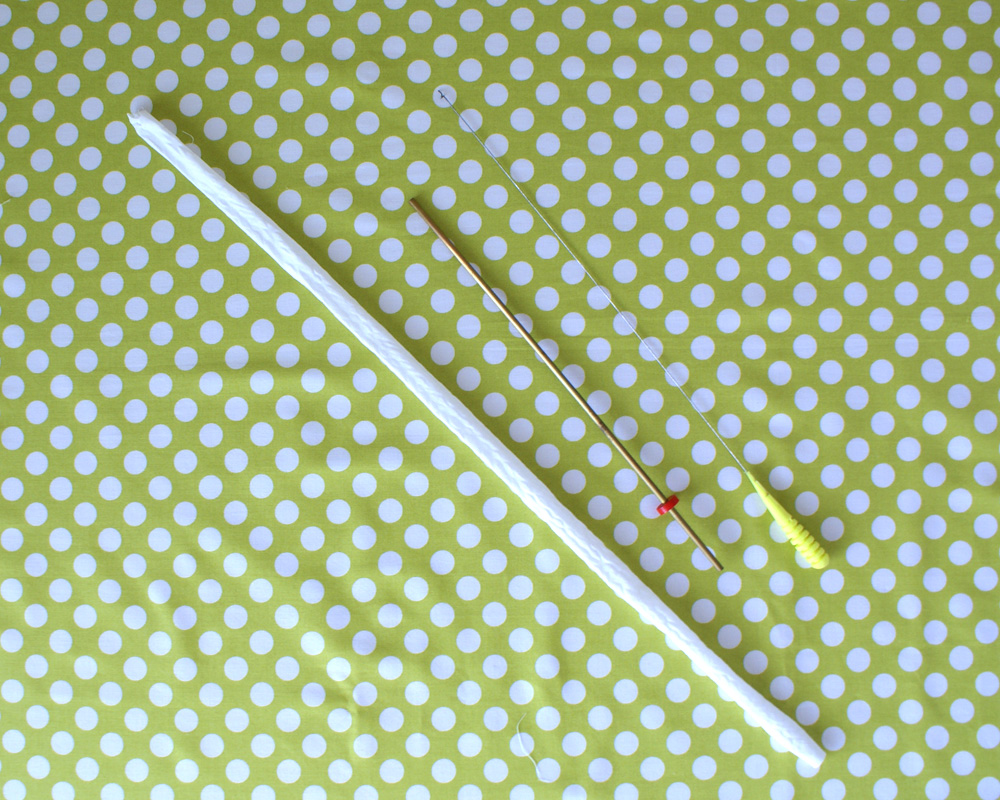
Super fast and simple. So much better than spending hours trying to push a safety pin through all that bulky fabric!

Turning tool, glass jar (with a really cute finial-like top), and a bundle of bias tape makers

The tape makers run from $5-$10 each brand new, and these dont look like they've ever been touched!
Have you ever heard of a turning tool?

It's a tool that helps you turn fabric tubes right side out (like ties for an apron, etc.)
This tool isn't a necessity, especially at its hefty price of anywhere from $30 to upwards of $60! But it sure is great to have if you can find one on the cheap. In another post I'll show you how to make your own version of a turning tool that has worked wonders for me previously to getting my hands on this great little tool set.
If you've never heard of a turning tool before and wonder how this contraption works, here's a little tutorial for you:
Start out with your tube of fabric, sewn right sides together, a metal tube from the set that fits in your fabric tube and a wire hook.

notice the little spiral on the end of the wire?

Stuff your fabric over the metal tube.

Insert the wire in the metal tube.

Pull your fabric just over the end of the metal tube and push the wire spiral through the fabric.

Gently start to pull the wire back through the metal tube and the fabric will start to pull through, turning itself right side out.

As you pull the fabric, it will come out the other end of the metal tube.

Keep pulling until the fabric is all the way through and Voila! Your fabric tube is now right side out! Just iron your fabric tube and you're done!

Super fast and simple. So much better than spending hours trying to push a safety pin through all that bulky fabric!
Thursday, May 6, 2010
April Block for the Fussy Cut Bee
I had the hardest time trying to figure out how to put these fabrics together. In the end, it wasnt so hard because I barely had enough fabric to squeeze out this block. I wish there would have been enough of the purple fabric to have it in the center and the other corners, but I think it still turned out well. I love the tree print!
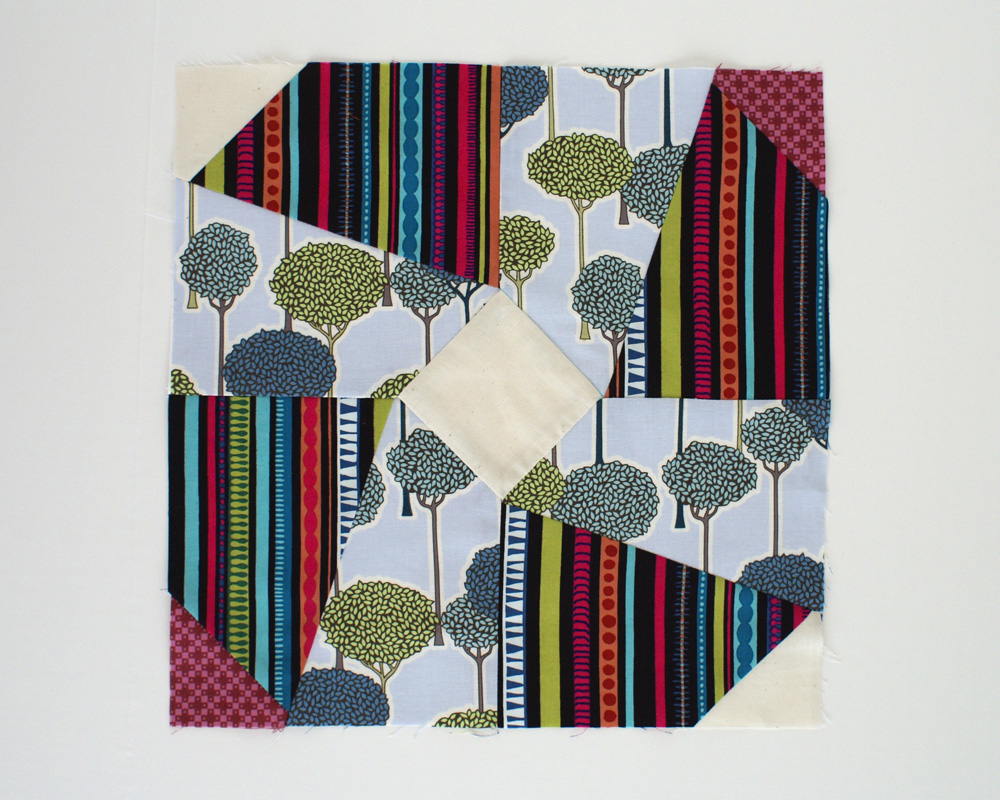
I had also read about the problems everyone else was having putting this block together and was a little scared to try it out. But I finally made myself. And I almost gave up soo many times. It is a really difficult block to piece! Hence the name Jig-Saw. But I miraculously was able to get it put together. The whole time making this block, I swore I would never make this block again, ever! But in the end, I actually really like the way it looks. I like how it takes the traditional whirly-gig block and adds the center square. I'd probably alter it for myself and not have the triangle pieces in the corners.
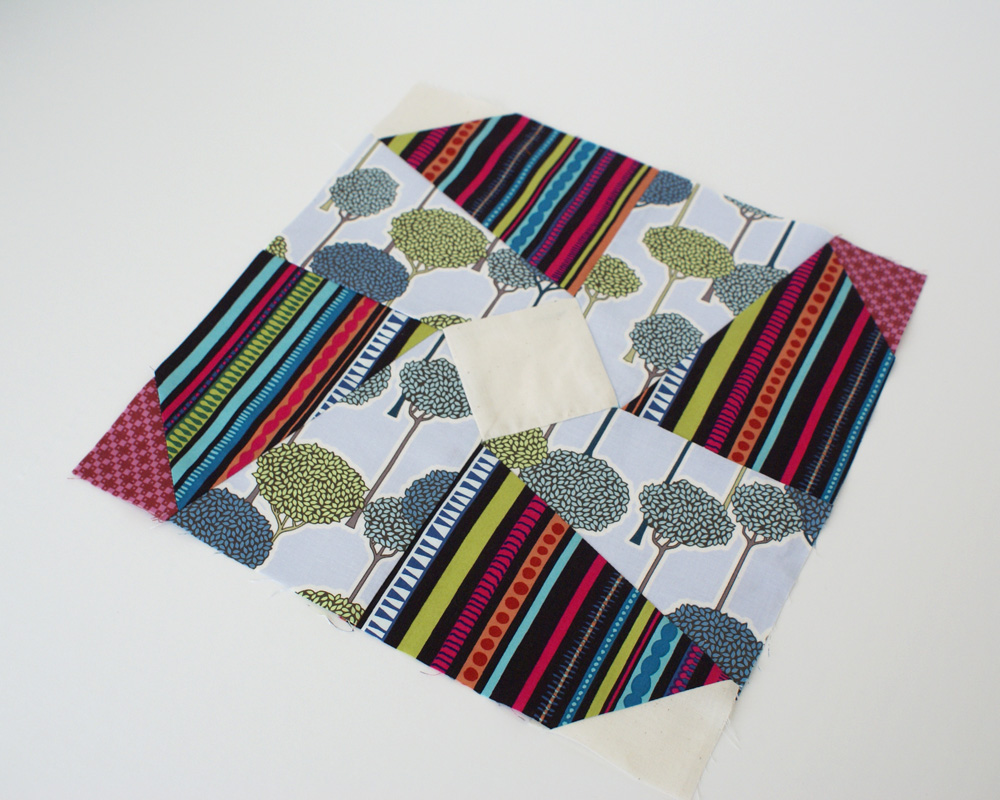
If you are interested in making the block, the template and instructions can be found here. Even it you're not interested, take a look at how it's pieced together. Once you get the hang of it, I dont think it would be too difficult to make an entire quilt out of. The hardest part is figuring out which direction to offset the pieces when putting it together. The instructions for this block are horrible, if you can even call them instructions. They're more like just diagrams. All in all it was a great learning experience!
See more blocks made by other bee members here.

I had also read about the problems everyone else was having putting this block together and was a little scared to try it out. But I finally made myself. And I almost gave up soo many times. It is a really difficult block to piece! Hence the name Jig-Saw. But I miraculously was able to get it put together. The whole time making this block, I swore I would never make this block again, ever! But in the end, I actually really like the way it looks. I like how it takes the traditional whirly-gig block and adds the center square. I'd probably alter it for myself and not have the triangle pieces in the corners.

If you are interested in making the block, the template and instructions can be found here. Even it you're not interested, take a look at how it's pieced together. Once you get the hang of it, I dont think it would be too difficult to make an entire quilt out of. The hardest part is figuring out which direction to offset the pieces when putting it together. The instructions for this block are horrible, if you can even call them instructions. They're more like just diagrams. All in all it was a great learning experience!
See more blocks made by other bee members here.
Subscribe to:
Comments (Atom)


