December being a crazy month as always, there was not a whole lot of sewing going on. Except for the gifts that I committed to make. I tried to make as many of our Christmas gifts as possible. But with having a 3 yr old and 2 month old, it of course was not as much as I would have liked. But I was able to squeeze out at least a few.
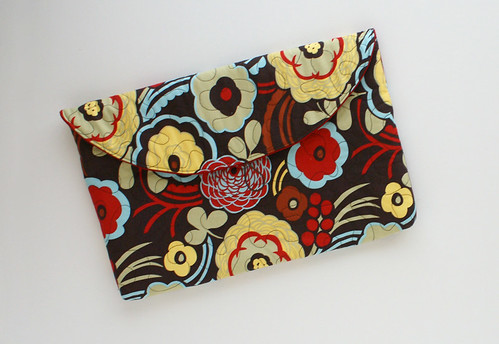
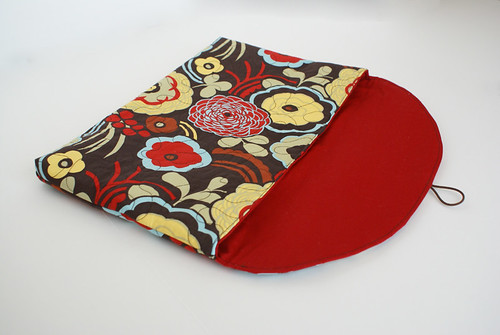
For my mother-in-law, a request for a laptop sleeve.
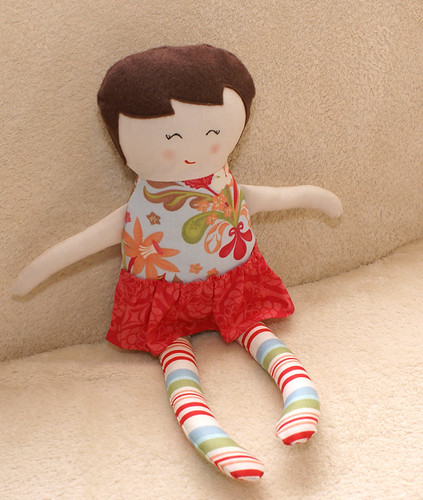
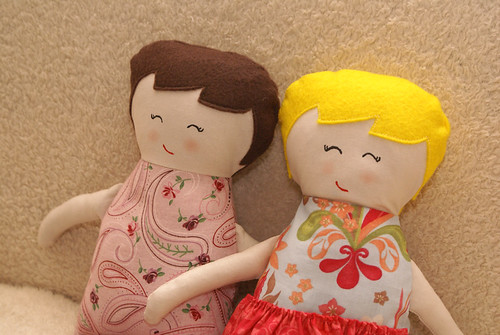
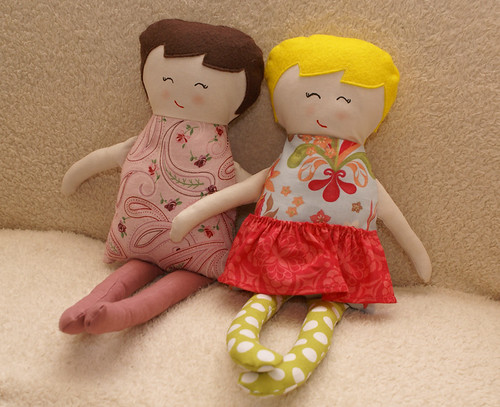
And for all the little girls in the extended family, Black Apple dolls.
There was actually a couple more dolls, but they were promptly wrapped after being finished. I was lucky to snap a couple shots of these few before they were whisked away also.
Hope everyone enjoys a wonderful new year!
Friday, December 31, 2010
Wednesday, November 24, 2010
November's Fussy-cut Bee Block
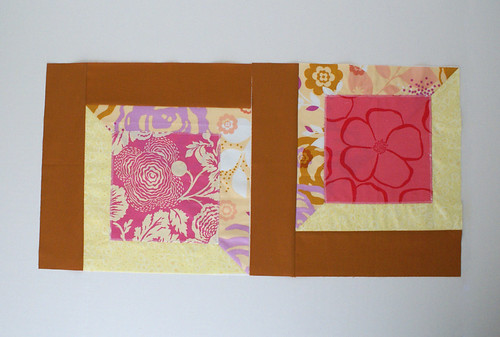
I really enjoyed our November block. Most months we make an improve block, so it was nice to do something different. When I first saw the block design, I really wasnt sure what the finished quilt was supposed to look like. Then I saw a picture of the inspirational quilt...and oh my. I've definitely got a quilt in this pattern in my future.
These blocks are made up of a half-square triangles with the fussy cut appliqued on top, then a border added on just two sides. Then when the blocks are all placed together, the borders turn into sashing and make the blocks look like their placed off-set.
Thursday, November 11, 2010
Remember...
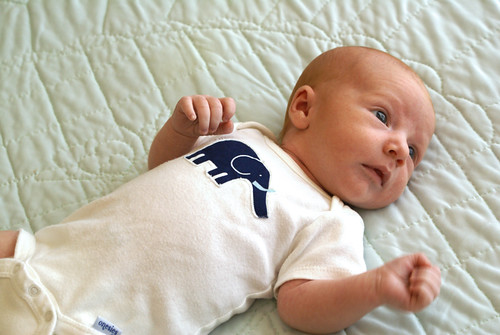
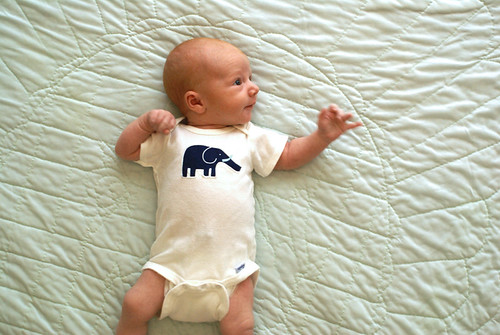
...my appliqued onesie tutorial? Well here it is in action on my little man. So much cuter than a plain white onesie don't you think?
now he just needs some matching pants or babylegs...
(and yes, it is still warm enough here to wear just a onesie. Cant wait for that fall weather to finally arrive...if it ever does before winter.)
now he just needs some matching pants or babylegs...
(and yes, it is still warm enough here to wear just a onesie. Cant wait for that fall weather to finally arrive...if it ever does before winter.)
Tuesday, November 9, 2010
Friday, November 5, 2010
This is what happens...
When you have a 2 year old...
who sneaks out of bed...
at 4:30am!
And you wake up to the sound of a bag of sun chips (there's no mistaking it)...
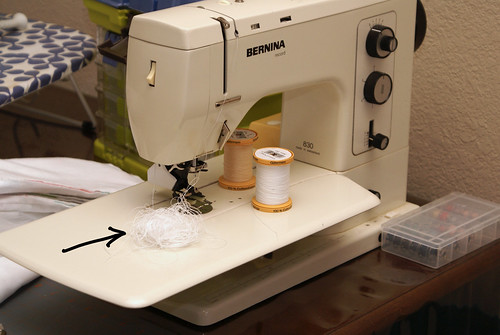
and come to find your "good" thread strung all around the house like an obstacle course...around couches...to door knobs...you get the picture right?
Let's just say I was not happy
Here's to hoping tomorrow turns out to be a better morning
Tuesday, November 2, 2010
Tutorial: Burp Cloths....and GIVEAWAY
Burp cloths are about the easiest homemade baby gift ever. Simply take a piece of fabric and stitch it on top of a cloth diaper and you're done! Here's my method:
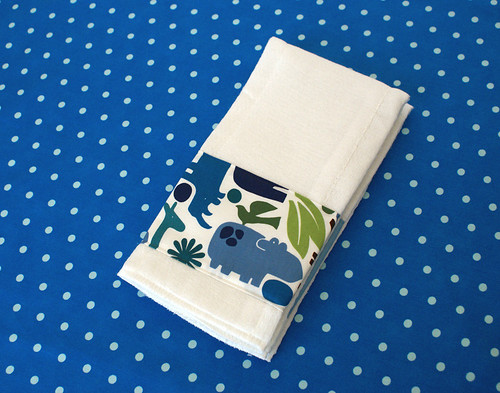
I prefer to have the fabric piece running across one end, leaving the super absorbent core down the middle uncovered and ready to catch the worst of messes.
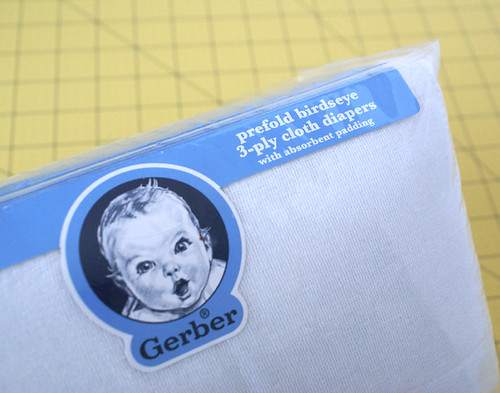
To get started, you'll need some cloth diapers, Prefold 3-ply or 6-ply (make sure they are the PREFOLD.) Prewash because these babies shrink a lot.
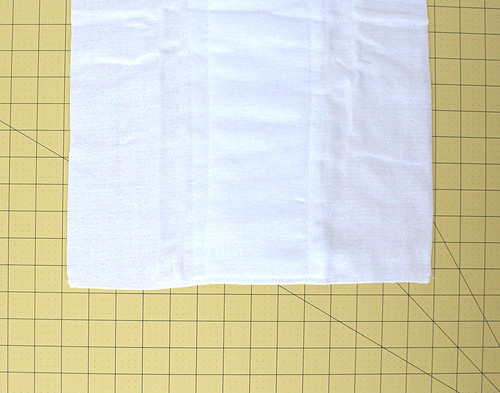
After your burp cloths have been washed and dried, iron a few to make them nice and crisp. Measure the width. (Gerber does not make these things anywhere near perfect. Some will be drastically different sizes, so try to use two that have a similar width. Also the bottom edge may be very uneven. If so, try the other end of the cloth and use whichever is the straightest.)
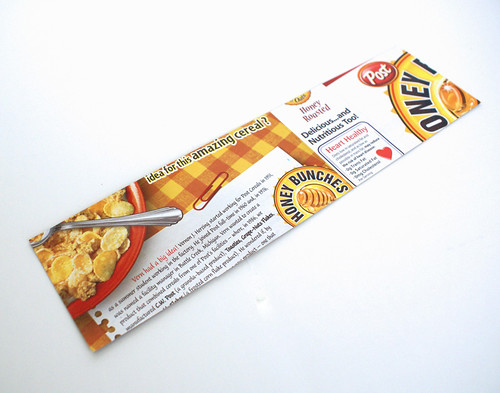
Now we are going to make a cardboard template. Cereal boxes work great! It will be the same width as you measured from your burp cloth and 3.5" tall.
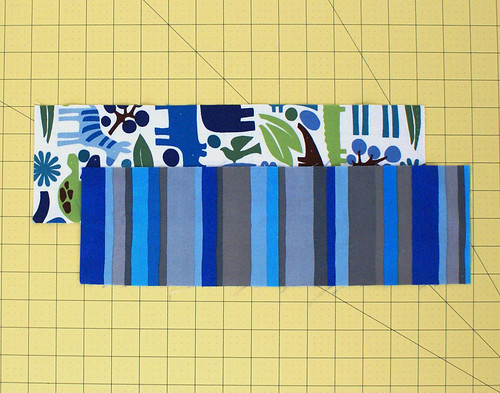
Next we will determine the measurement for the fabric pieces to top the burp cloth with. Everyone's burp cloths will be such different sizes, I am going to walk you through using your width measurement taken and adding a seam allowance. Take the measurement you got for your burp cloth width and add approximately 3/4"-1" to your width measurement (giving you a generous 3/8" seam allowance for each end.) I like to make my decorative fabric about 3.5" tall, so we'll again be adding 3/4"-1" for the seam allowance (giving a 3/8" for each side.) My measurements ended up being 14" x 4.5".
Once you have your fabric cut out, place it face down on your ironing board and lay your cardboard template on top, centering it.
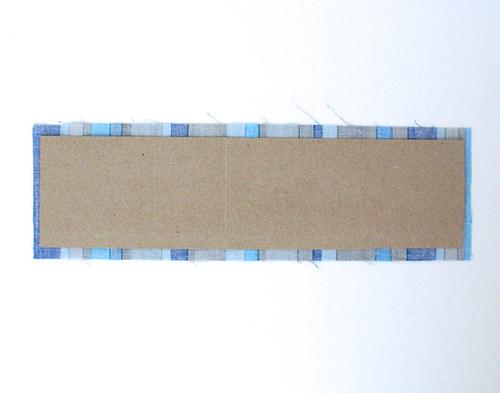
Hold your template steady while folding the edge of the fabric over the template and ironing it in place. Do this for each side.
Take the cardboard out and press the fabric one last time to give the edge a good crisp fold.
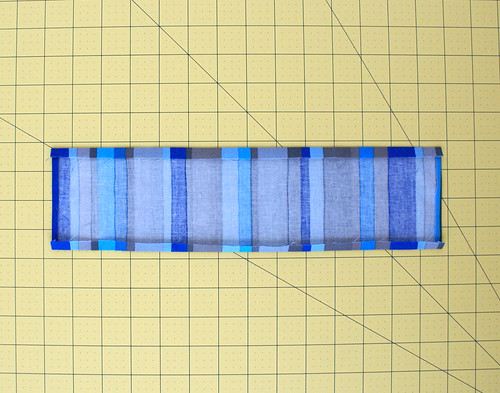
Lay the piece of fabric on top of your burp cloth (right side up) about 1.5" from the bottom edge. You could line it right up on the bottom edge if your burp cloth is really straight. Most are not, so I find it best to put it slightly above the bottom, just high enough that your straight edge of the fabric wont emphasize the uneven bottom seam of the burp cloth.
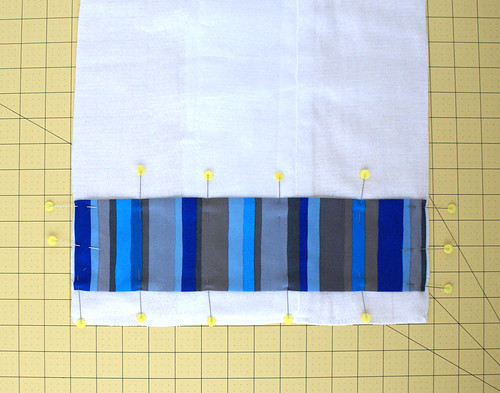
At this point you may need to adjust the sides, taking the fold in more or letting it out, to match the sides of the burp cloth. Now just pin and stitch all the way around the edge of the fabric about 1/8" from the edge. ( I like to use monofilament (clear) thread, but you can also use any coordinating thread color.)
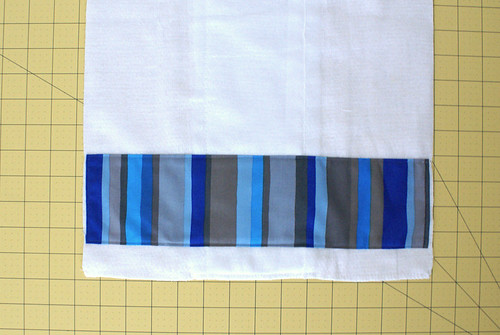
And you're done! Now just make a matching one!
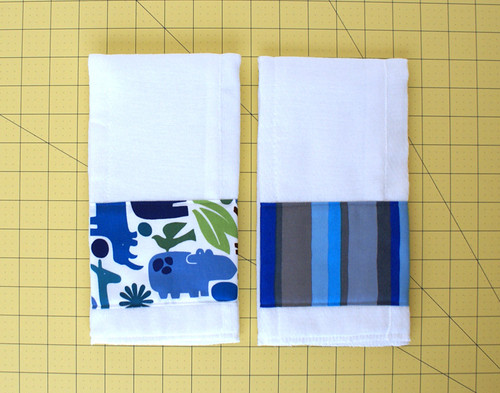
These can be embellished in so many different ways, like adding ribbon or ric rac to the top or bottom edge of the fabric, or both. Or try placing your fabric along the bottom edge of the burp cloth and adding ribbon loops giving the baby a little entertainment while keeping the burp cloth close at hand to catch any surprise spit-ups!
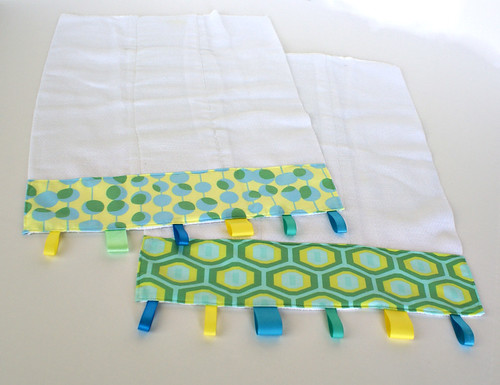
These make such great baby shower gifts. A great way to have a little style while carrying around a spit rag!
GIVEAWAY!!!
Just leave a comment to enter to win the set of burp cloths seen below! Extra entry if you blog, tweet, or whatever about this post (just leave an additional comment.) Giveaway will end Sunday Nov. 7th at midnight CST.
Friday, October 29, 2010
September and October's Bee Blocks
I am trying to get caught back up on all my "have to" sewing projects before I start working on all the ideas swirling around in my head. First on list were my Fussy-cut Bee blocks. Thanks for being so patient ladies!
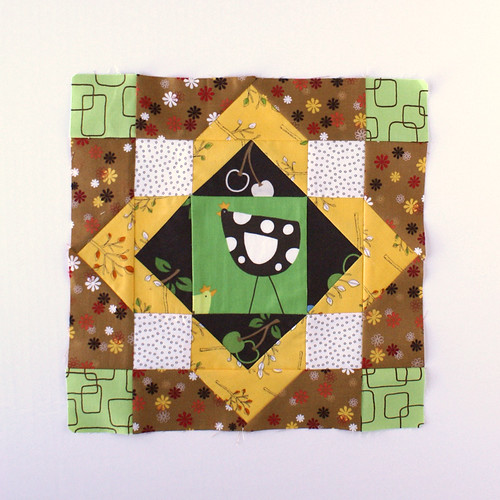
September's block for Lynette:
She asked for traditional style blocks that create a little "home" for the chickens. I love all the blocks everyone has created and all the little chickens.
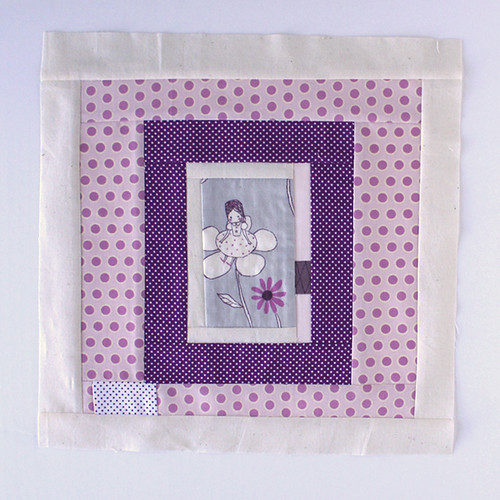
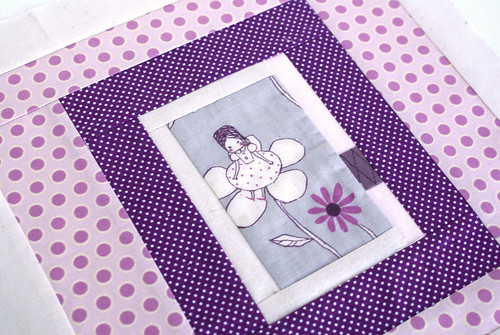
October's block for Jane:
Jane asked for "drunk love" inspired improved square-in-square blocks. I love love the Kokka princess and frog print and the light pink, purple, and grey color palette. It's going to be such an adorable quilt for her twins!
Thursday, October 14, 2010
Welcome baby
Wednesday, September 1, 2010
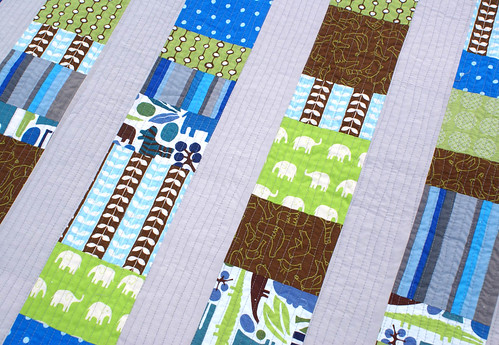
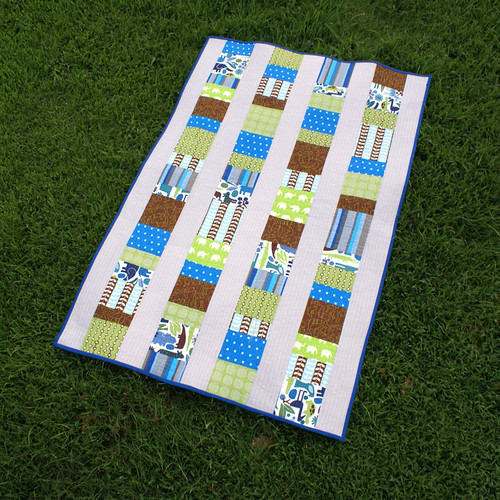
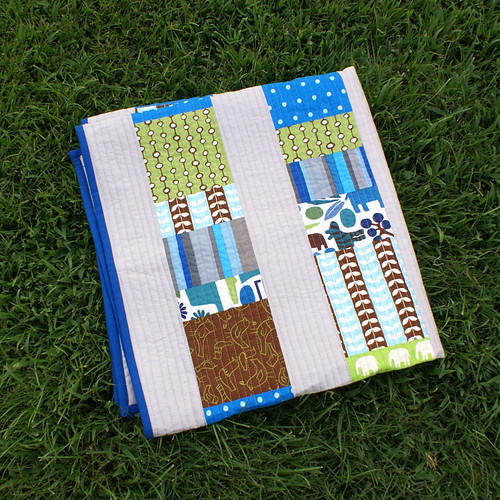
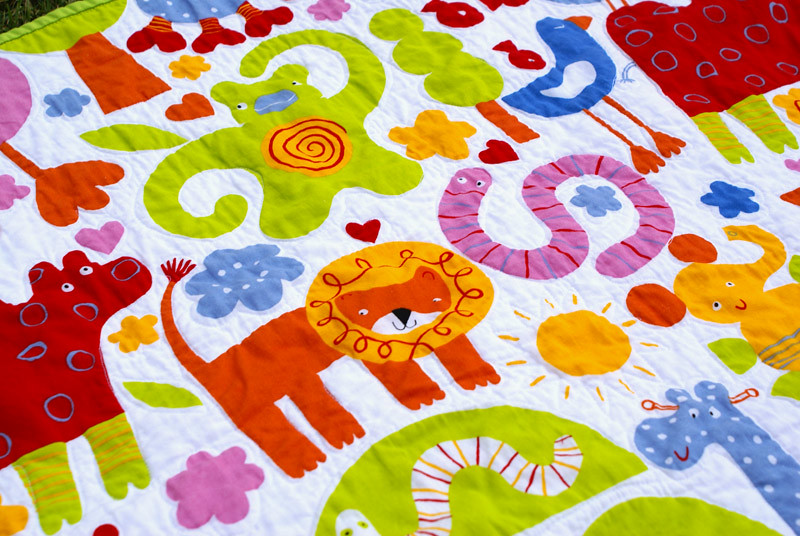
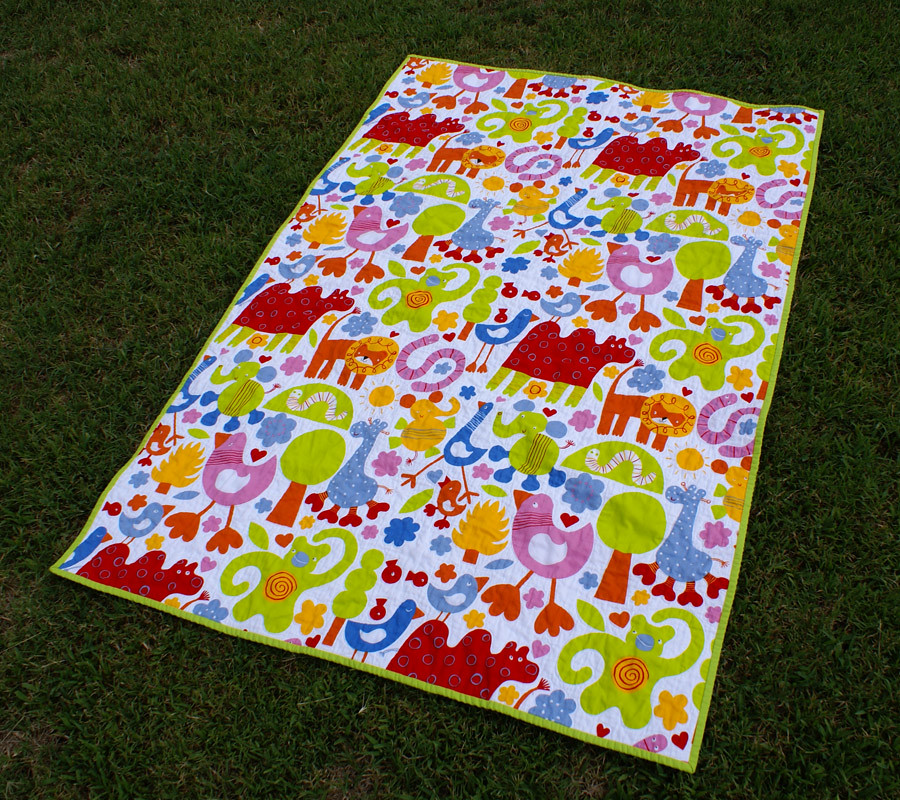
Modern Zoo Quilt
Another quilt down in my endless battle of finishing WIPs. I love this one so much, I'm pretty tempted to keep it! And I just might...
This quilt was super easy. All blocks are cut 5" wide and varying heights, then stacked all together.
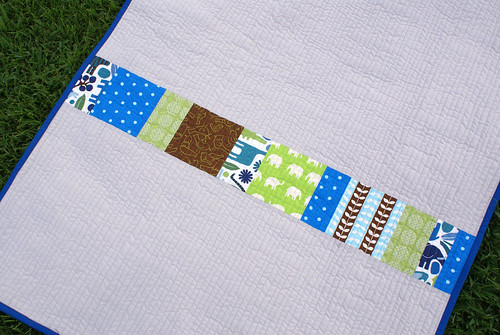
pieced back
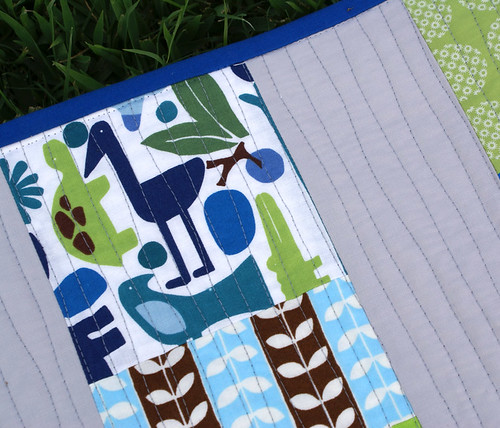
I love the wonky straight line quilting (it was my first time.) Halfway through I wondered if I really liked the texture though. It seemed a little rough and I thought it was going to be super stiff, but it turned out nice and soft with a great thick cuddly texture. I will definitely be doing this again. And it didnt take as long as I was expecting it too either.
It measures approx. 35"x50" and you can find more of the specs. and description in the shop.
Saturday, August 21, 2010
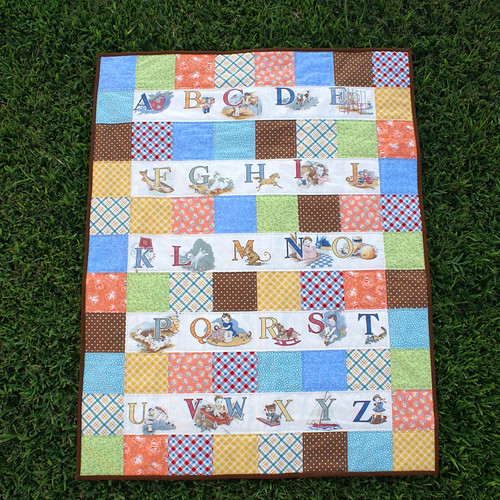
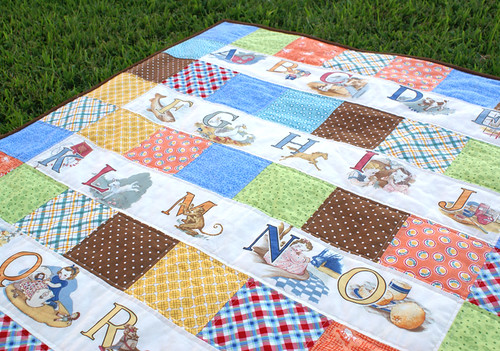
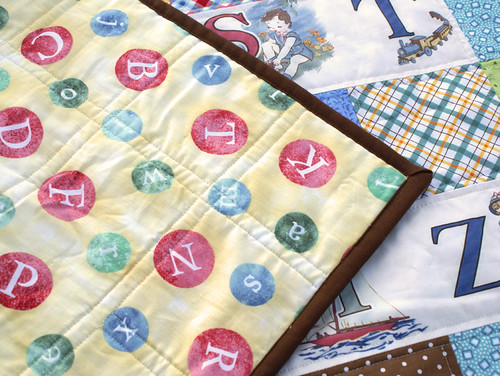
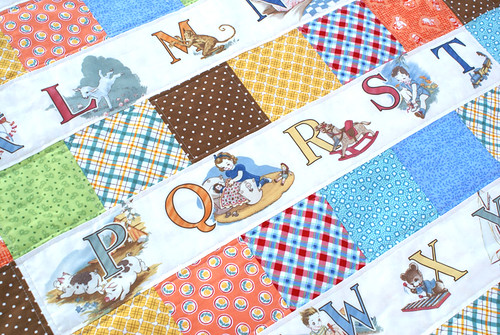
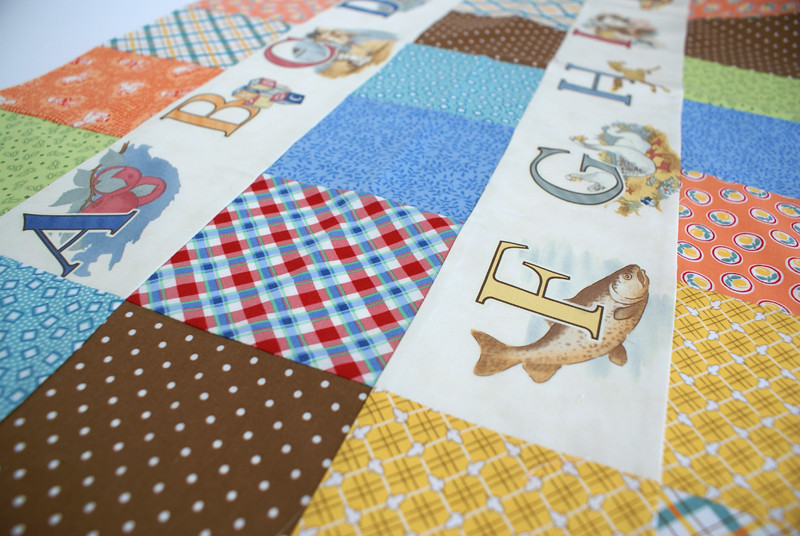
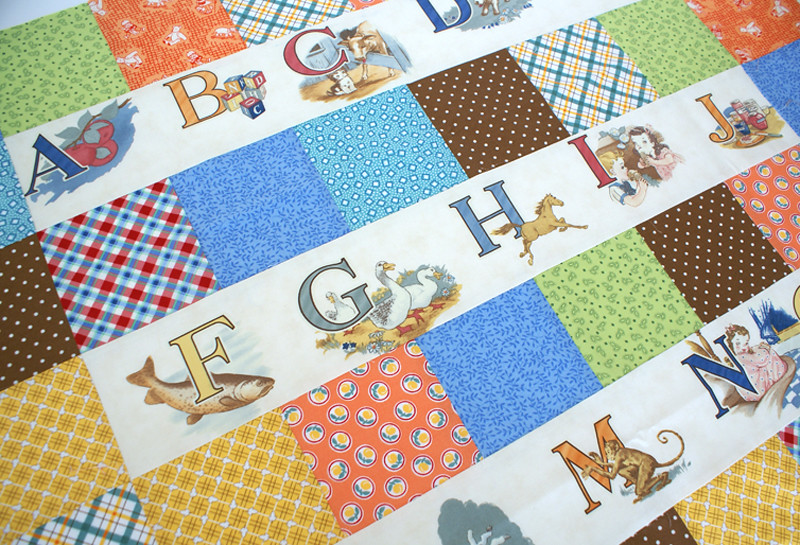
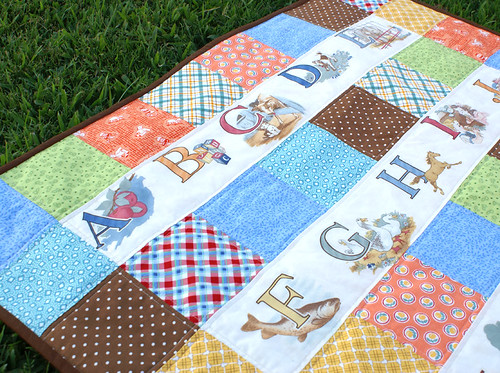
Alphabet Quilt
I am so happy to say that the infamous Alphabet Quilt is complete! This quilt is a little near to my heart because it started out as one of my first quilts. I got about halfway through, with all of my individual strips done. But as I started to sew the strips together, for the life of me, I could not get the last block on each row to line up. So with my "nesting" on hyper-drive to finish all my old WIPs, I pulled it out from the back of the closet and was determined to get it done finally. I guess my experience over the last few years and new techniques did the trick. Turns out, it all went together so easily. Another project I wish I would have finished long ago. But I'm so happy to have it completed now!
It measures approx 35" x 45"
Can be found here in the shop.
It measures approx 35" x 45"
Can be found here in the shop.
Thursday, August 19, 2010
Lately
Not a ton of sewing has been going on around here...well at least not as much as I'd like. Chasing around a 2 year old while almost 8 months pregnant is pretty exhausting, so I havent been sewing much during nap time or in the evenings. It's also surprisingly difficult to sew with a bowling ball in your lap. But let me tell you, basting is the hardest! I've mostly worked on larger projects also, so there hasnt been a ton of fun stuff to show you. But here's something I've been playing with the last few days, and it's actually almost done.
Cant wait to show you the finished product soon!
Monday, August 2, 2010
Finally...
Remember how I've talked about a big secret project? Well, it's finally finished and been gifted, so I can spill the beans. It only took me two extra years to finish! But to my credit, I didnt work on it during the entire two years, especially while baby #1 was still pretty small.
But with baby #2 on the way, I knew I had to get it done or it may never get done! So I rushed to finish it for my mom's birthday this weekend, and I'm so glad I did. Even though all the intense sewing/hand appliqueing almost put me in the hospital!
My mom picked out the fabrics and pattern years ago, and it was my goal to make it for her milestone birthday...but unfortunately, it was mammoth of a project, being queen sized and all.
So to recap, during all the quietness here on the blog, I pumped out tons and tons of these guys:
and hand appliqued THREE of these:
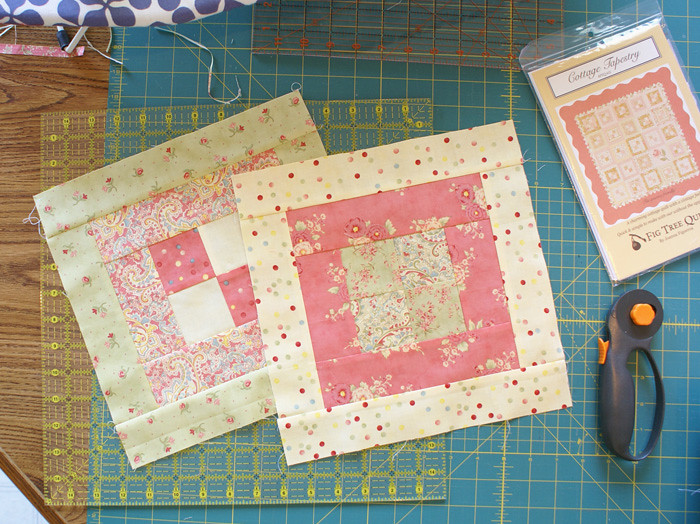
(see the little flower applique block in the pic? That's the one.) It's hard to see the detail in the picture, but that baby has 14 individual flower petals, plus the stem and leaves. I've never done hand applique before, but am a pro now!
pictures of the actual quilt top coming soon.
(credits-
Fabric: April Cornnel's Poetry Collection
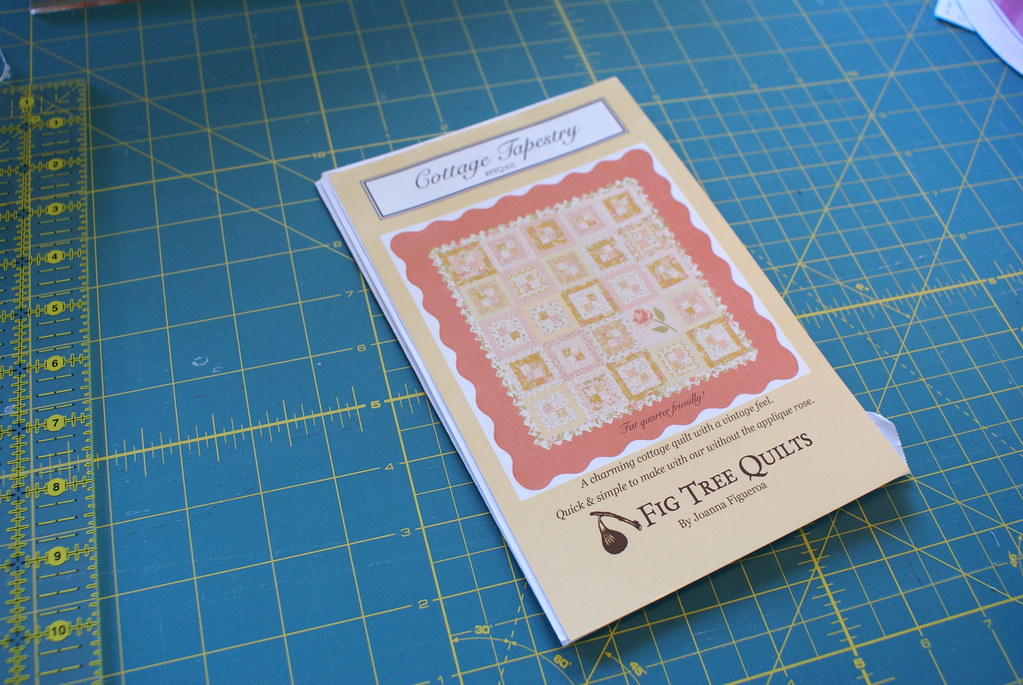
Pattern: Cottage Tapestry by Fig Tree Quilts)
Saturday, July 3, 2010
Where I buy fabric
I just wanted to let everyone know that I added a new section to my sidebar with links to some of my favorite places to buy fabric. Some are local, some are etsy shops, and some are internet based companies. So if you are looking for a new place to buy, or just look around, check it out.
Also, here is a list of my favorite "sale" sections that always have awesome fabrics at awesome prices.
Cabbage Rose
Fabricworm
Fat Quarter Shop
Where are your favorite places to fabric shop?
Also, here is a list of my favorite "sale" sections that always have awesome fabrics at awesome prices.
Cabbage Rose
Fabricworm
Fat Quarter Shop
Where are your favorite places to fabric shop?
Thursday, July 1, 2010
July Fussy-cut Bee
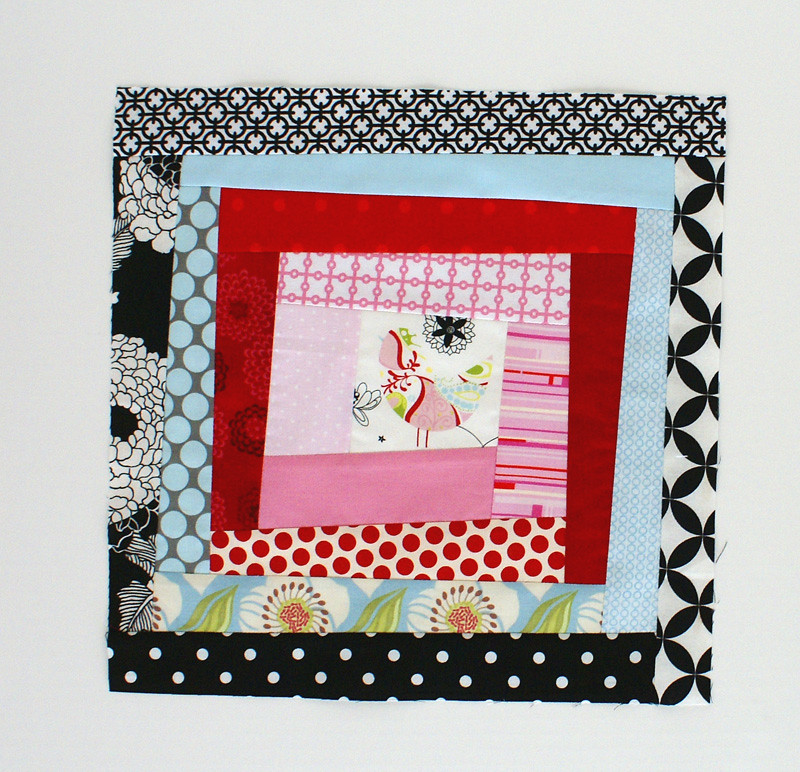
If you stop by here often, you probably have heard that I participate in the Fussy-Cut Bee. Well it's finally my month! Wohoo! Im so excited. I had a really hard time deciding what I wanted to do, so I went with something that I've had in the works for a long time.
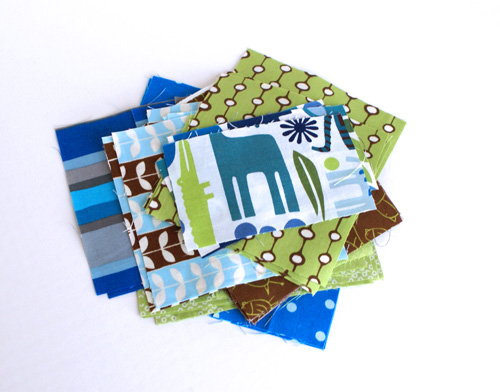
Here's what I started out with:
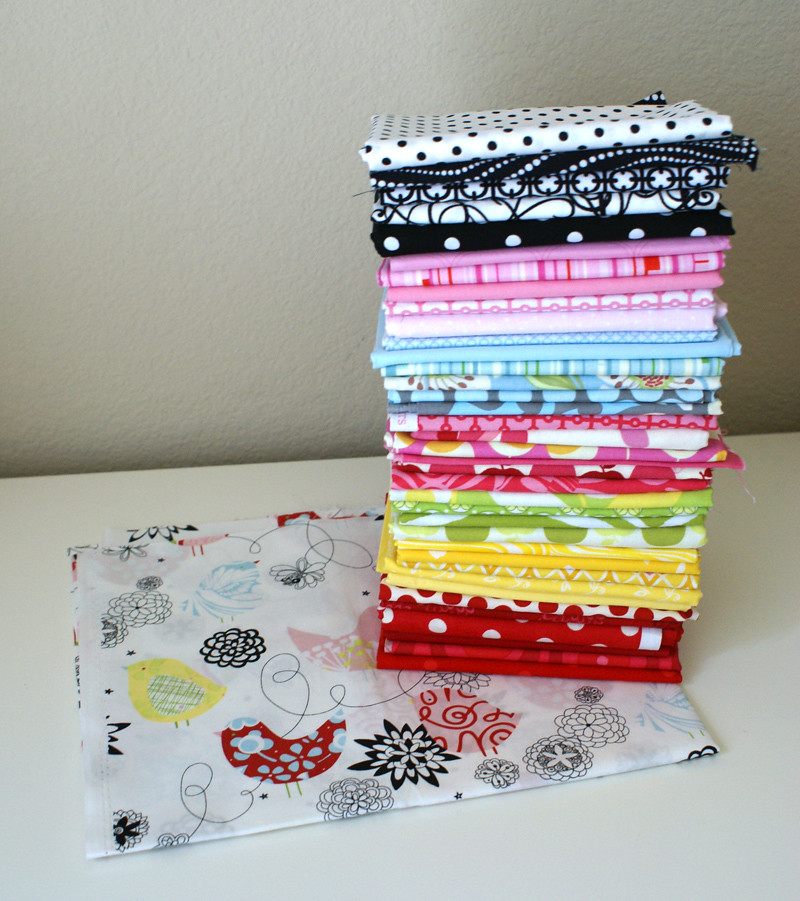
Alexander Henry's Starlings bird print for the fussy-cut block centers and coordinating colors taken from the print (red, light blue, lime green, yellow, light pink, dark pink, and black/white.)
And finally decided to go with a wonky log cabin block.
You can find a tutorial over at QuiltDad's for the wonky log cabin.
I am so horrible with anything that's "free-style", so this is a great one for me to have a little help with from my bee members. Im really excited to see what they come up with.
You can see more blocks as they are finished up by my bee members over in our group pool on flickr.
Monday, June 28, 2010
It's Official...
I'm nesting. But not in the normal sense of preparing everything for the baby's arrival. We are having another boy, so we already have all the boy cloths, misc baby gear, etc. So there's not much more to do for the baby. It's more to the effect of finishing up all my WIPs (works in progress) that have been shoved in the back of the closet for who knows how many years. Most of them are at least half finished so I've been burning through them pretty quickly.
So far I've completed 3 quilts and a tablecloth. I've got a couple more baby quilts to finish up and one larger project that is a bit of a surprise so that's all I'll reveal for now!
Wednesday, June 23, 2010
Yum.
Isn't this the most delicious colored binding? So glad I went with this instead of my usual red.
(Kona Cotton Chartreuse)
Tuesday, June 22, 2010
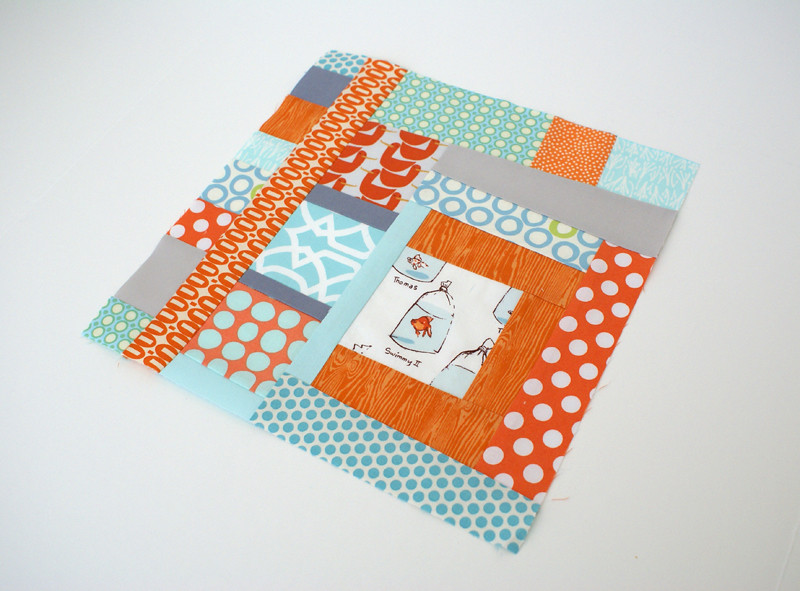
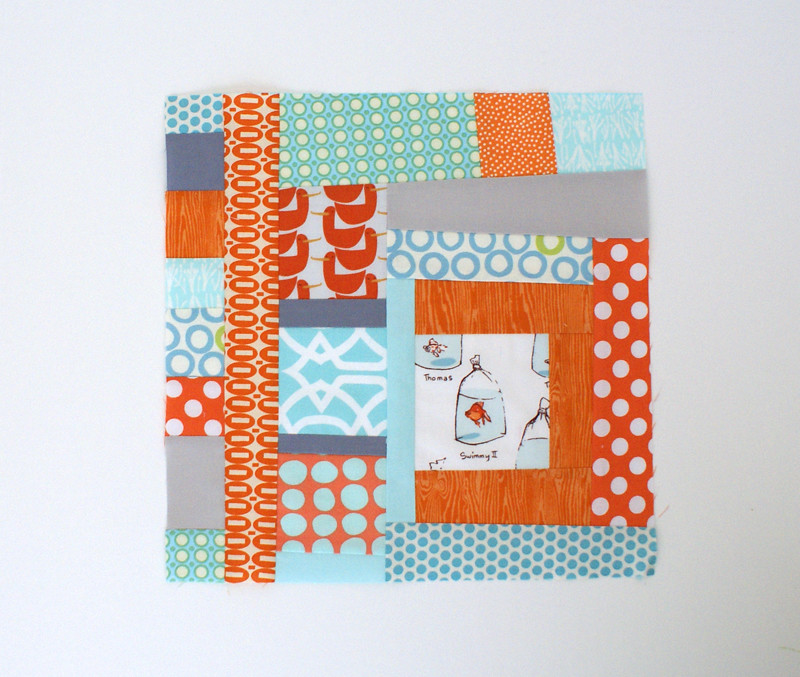
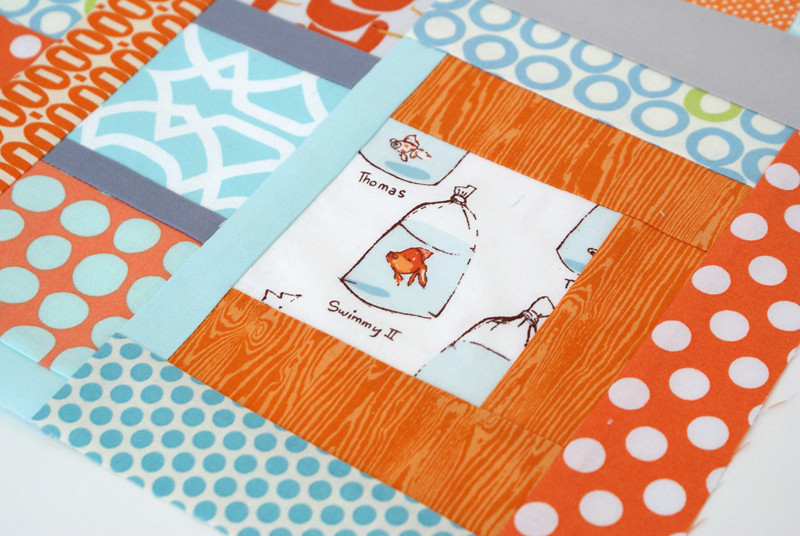
June's Fussy-cut Bee Block
June was Ryan's month and I absolutely loved all the fabrics he sent. I secretly just wanted to keep them all for myself! And I am totally jealous of his Munki fish.
He asked for free-style pieced blocks with the fussy-cut fish to be off centered, plus a little wonky. So that's what he got...or I at least tried to do!
Click here to see more blocks from the Fussy-cut Bee.
Subscribe to:
Posts (Atom)