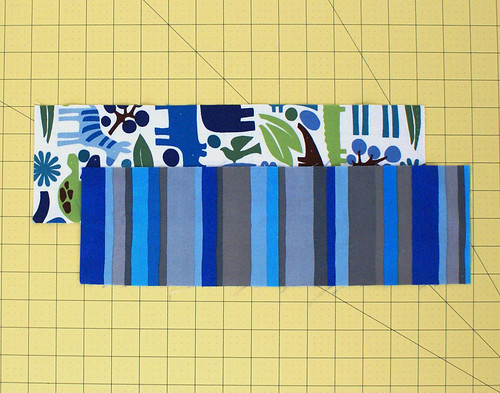
Burp cloths are about the easiest homemade baby gift ever. Simply take a piece of fabric and stitch it on top of a cloth diaper and you're done! Here's my method:
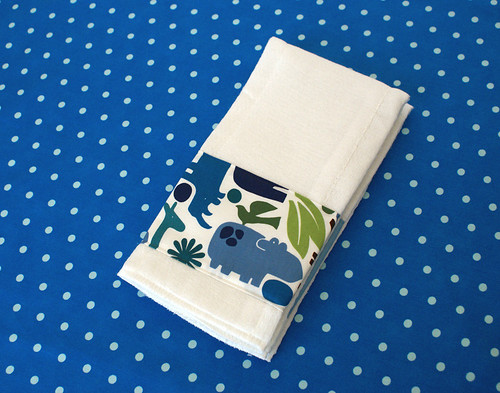
I prefer to have the fabric piece running across one end, leaving the super absorbent core down the middle uncovered and ready to catch the worst of messes.
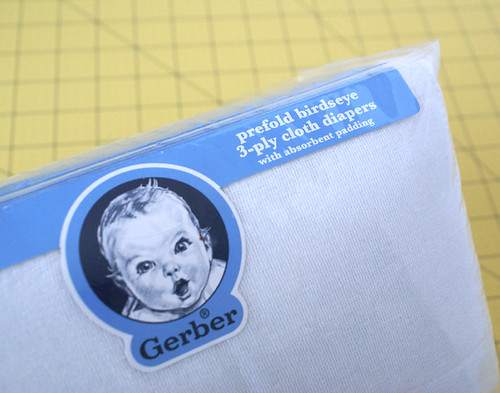
To get started, you'll need some cloth diapers, Prefold 3-ply or 6-ply (make sure they are the PREFOLD.) Prewash because these babies shrink
a lot.
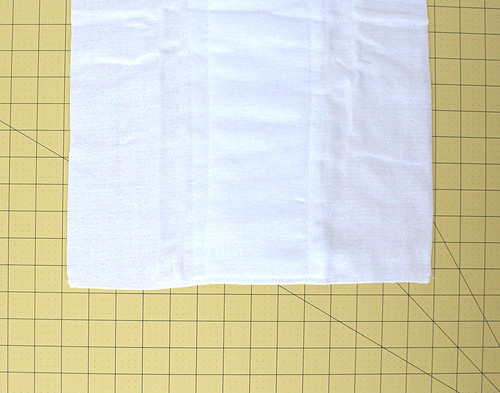
After your burp cloths have been washed and dried, iron a few to make them nice and crisp. Measure the width. (Gerber does
not make these things anywhere near perfect. Some will be drastically different sizes, so try to use two that have a similar width. Also the bottom edge may be very uneven. If so, try the other end of the cloth and use whichever is the straightest.)
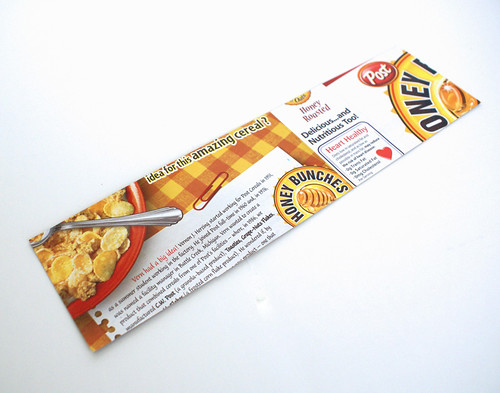
Now we are going to make a cardboard template. Cereal boxes work great! It will be the same width as you measured from your burp cloth and 3.5" tall.
Next we will determine the measurement for the fabric pieces to top the burp cloth with. Everyone's burp cloths will be such different sizes, I am going to walk you through using your width measurement taken and adding a seam allowance. Take the measurement you got for your burp cloth width and add approximately 3/4"-1" to your width measurement (giving you a generous 3/8" seam allowance for each end.) I like to make my decorative fabric about 3.5" tall, so we'll again be adding 3/4"-1" for the seam allowance (giving a 3/8" for each side.) My measurements ended up being 14" x 4.5".
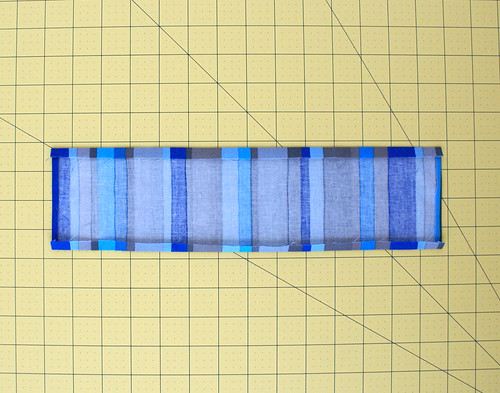
Once you have your fabric cut out, place it face down on your ironing board and lay your cardboard template on top, centering it.
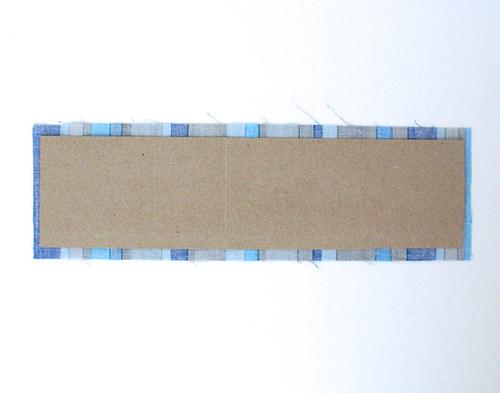
Hold your template steady while folding the edge of the fabric over the template and ironing it in place. Do this for each side.

Take the cardboard out and press the fabric one last time to give the edge a good crisp fold.
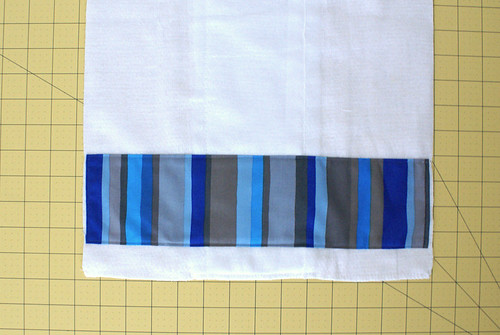
Lay the piece of fabric on top of your burp cloth (right side up) about 1.5" from the bottom edge. You could line it right up on the bottom edge
if your burp cloth is really straight. Most are not, so I find it best to put it slightly above the bottom, just high enough that your straight edge of the fabric wont emphasize the uneven bottom seam of the burp cloth.
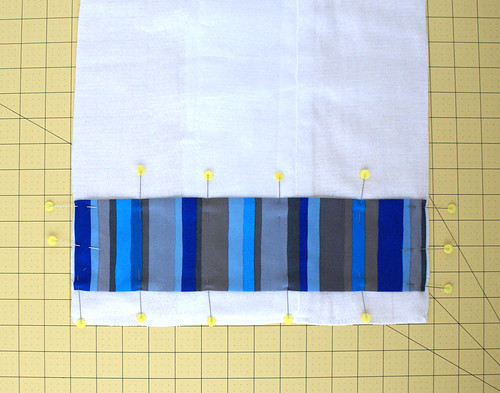
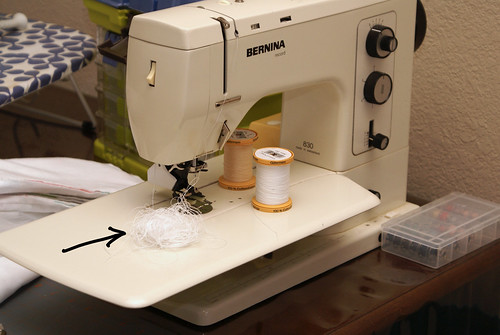
At this point you may need to adjust the sides, taking the fold in more or letting it out, to match the sides of the burp cloth. Now just pin and stitch all the way around the edge of the fabric about 1/8" from the edge. ( I like to use monofilament (clear) thread, but you can also use any coordinating thread color.)
And you're done! Now just make a matching one!
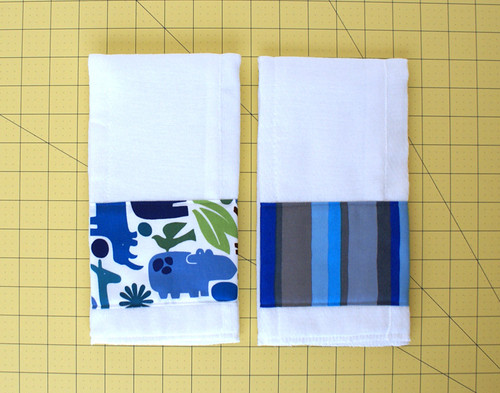
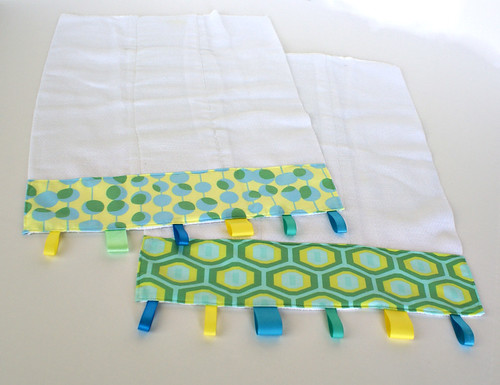
These can be embellished in so many different ways, like adding ribbon or ric rac to the top or bottom edge of the fabric, or both. Or try placing your fabric along the bottom edge of the burp cloth and adding ribbon loops giving the baby a little entertainment while keeping the burp cloth close at hand to catch any surprise spit-ups!
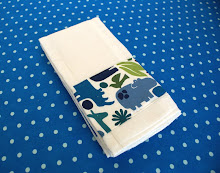
These make such great baby shower gifts. A great way to have a little style while carrying around a spit rag!
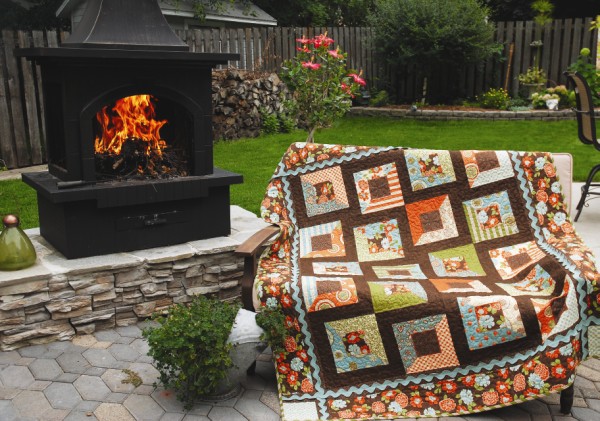
GIVEAWAY!!!
Just leave a comment to enter to win the set of burp cloths seen below! Extra entry if you blog, tweet, or whatever about this post (just leave an additional comment.) Giveaway will end Sunday Nov. 7th at midnight CST.


